Adding a device with auto-provisioning
Note: Do not use the Advanced Provisioner app to create devices. All devices must be created in the SmartPBX app in order to establish the correct initial configurations to enable auto-provisioning.
Before you begin, ensure you have properly configure the Advanced Provisioner for this account. See here for details.
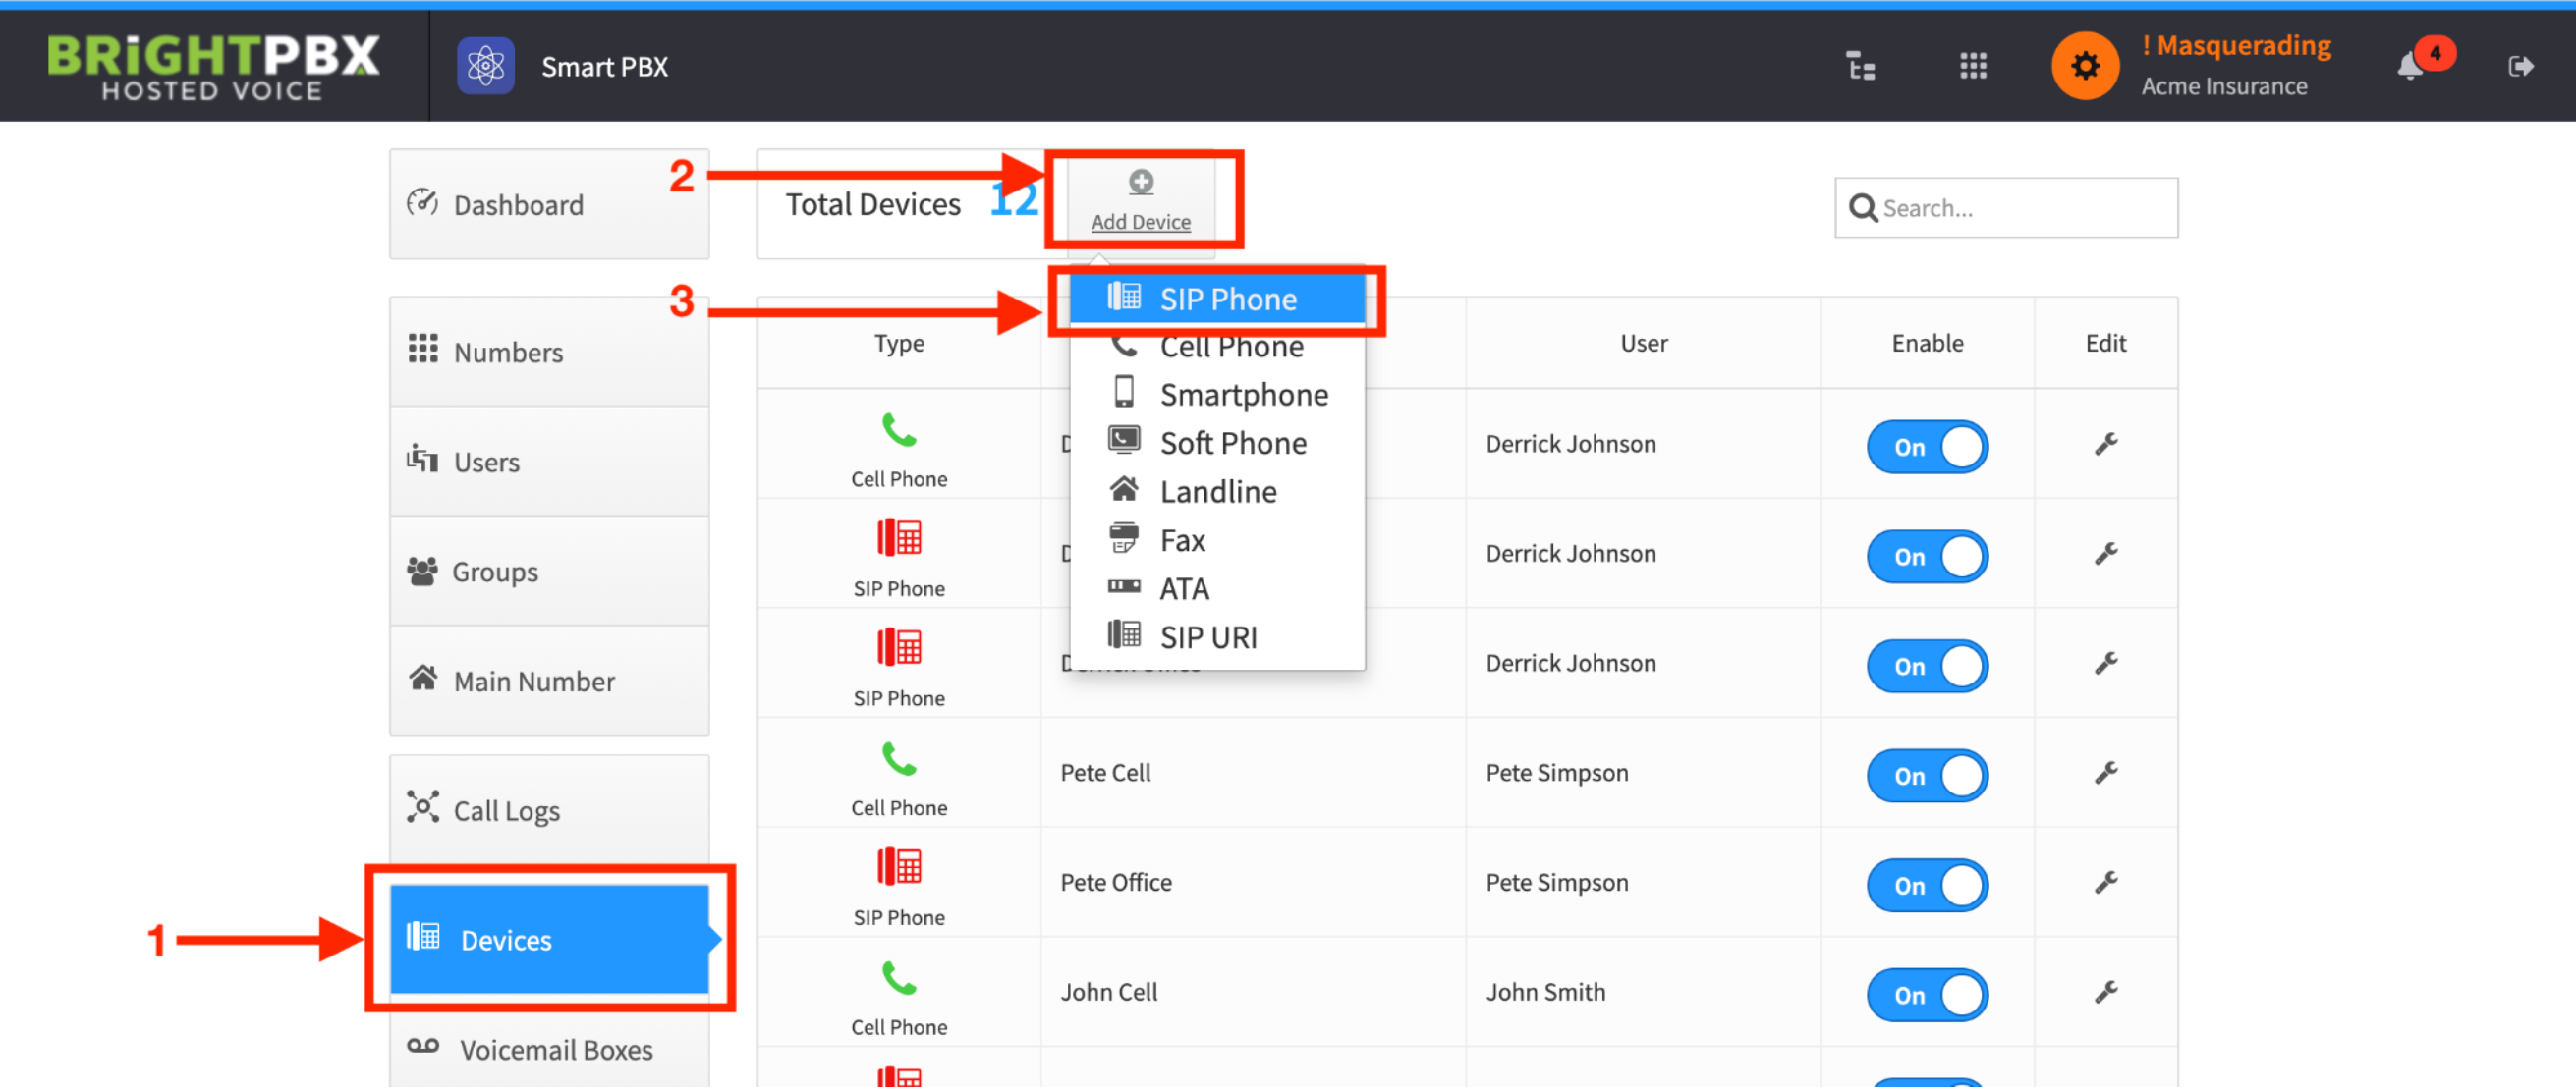
1. Open the SmartPBX app, and choose Devices > Add Device > SIP Phone
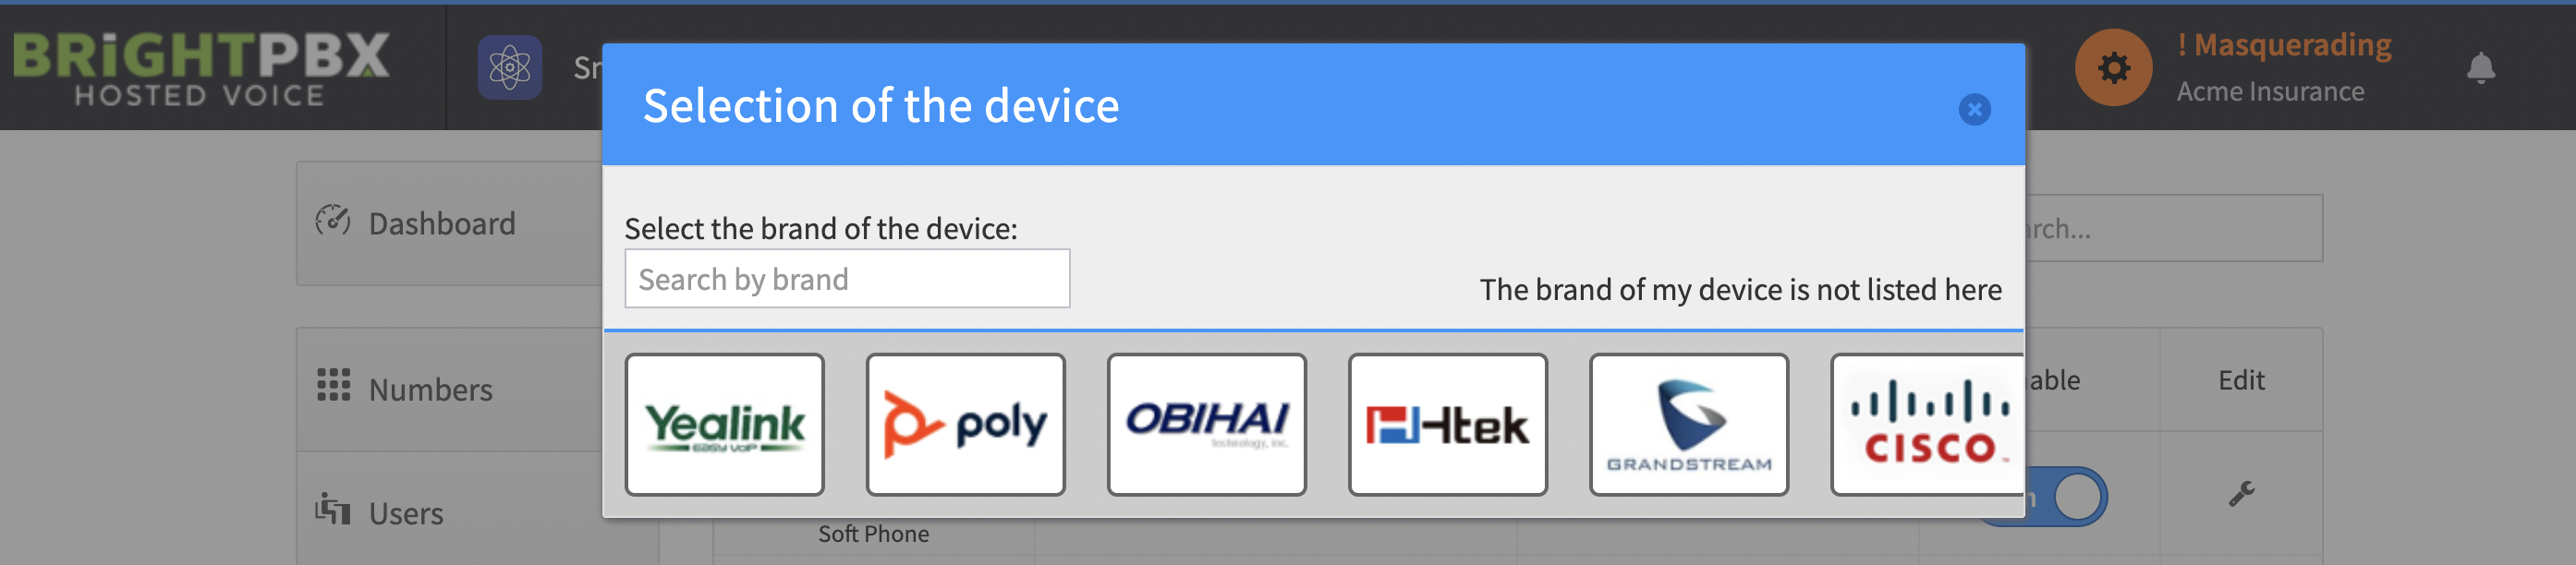
2. Choose your brand (e.g. Cisco, Yealink, Polycom). Ask us if yours is not listed.

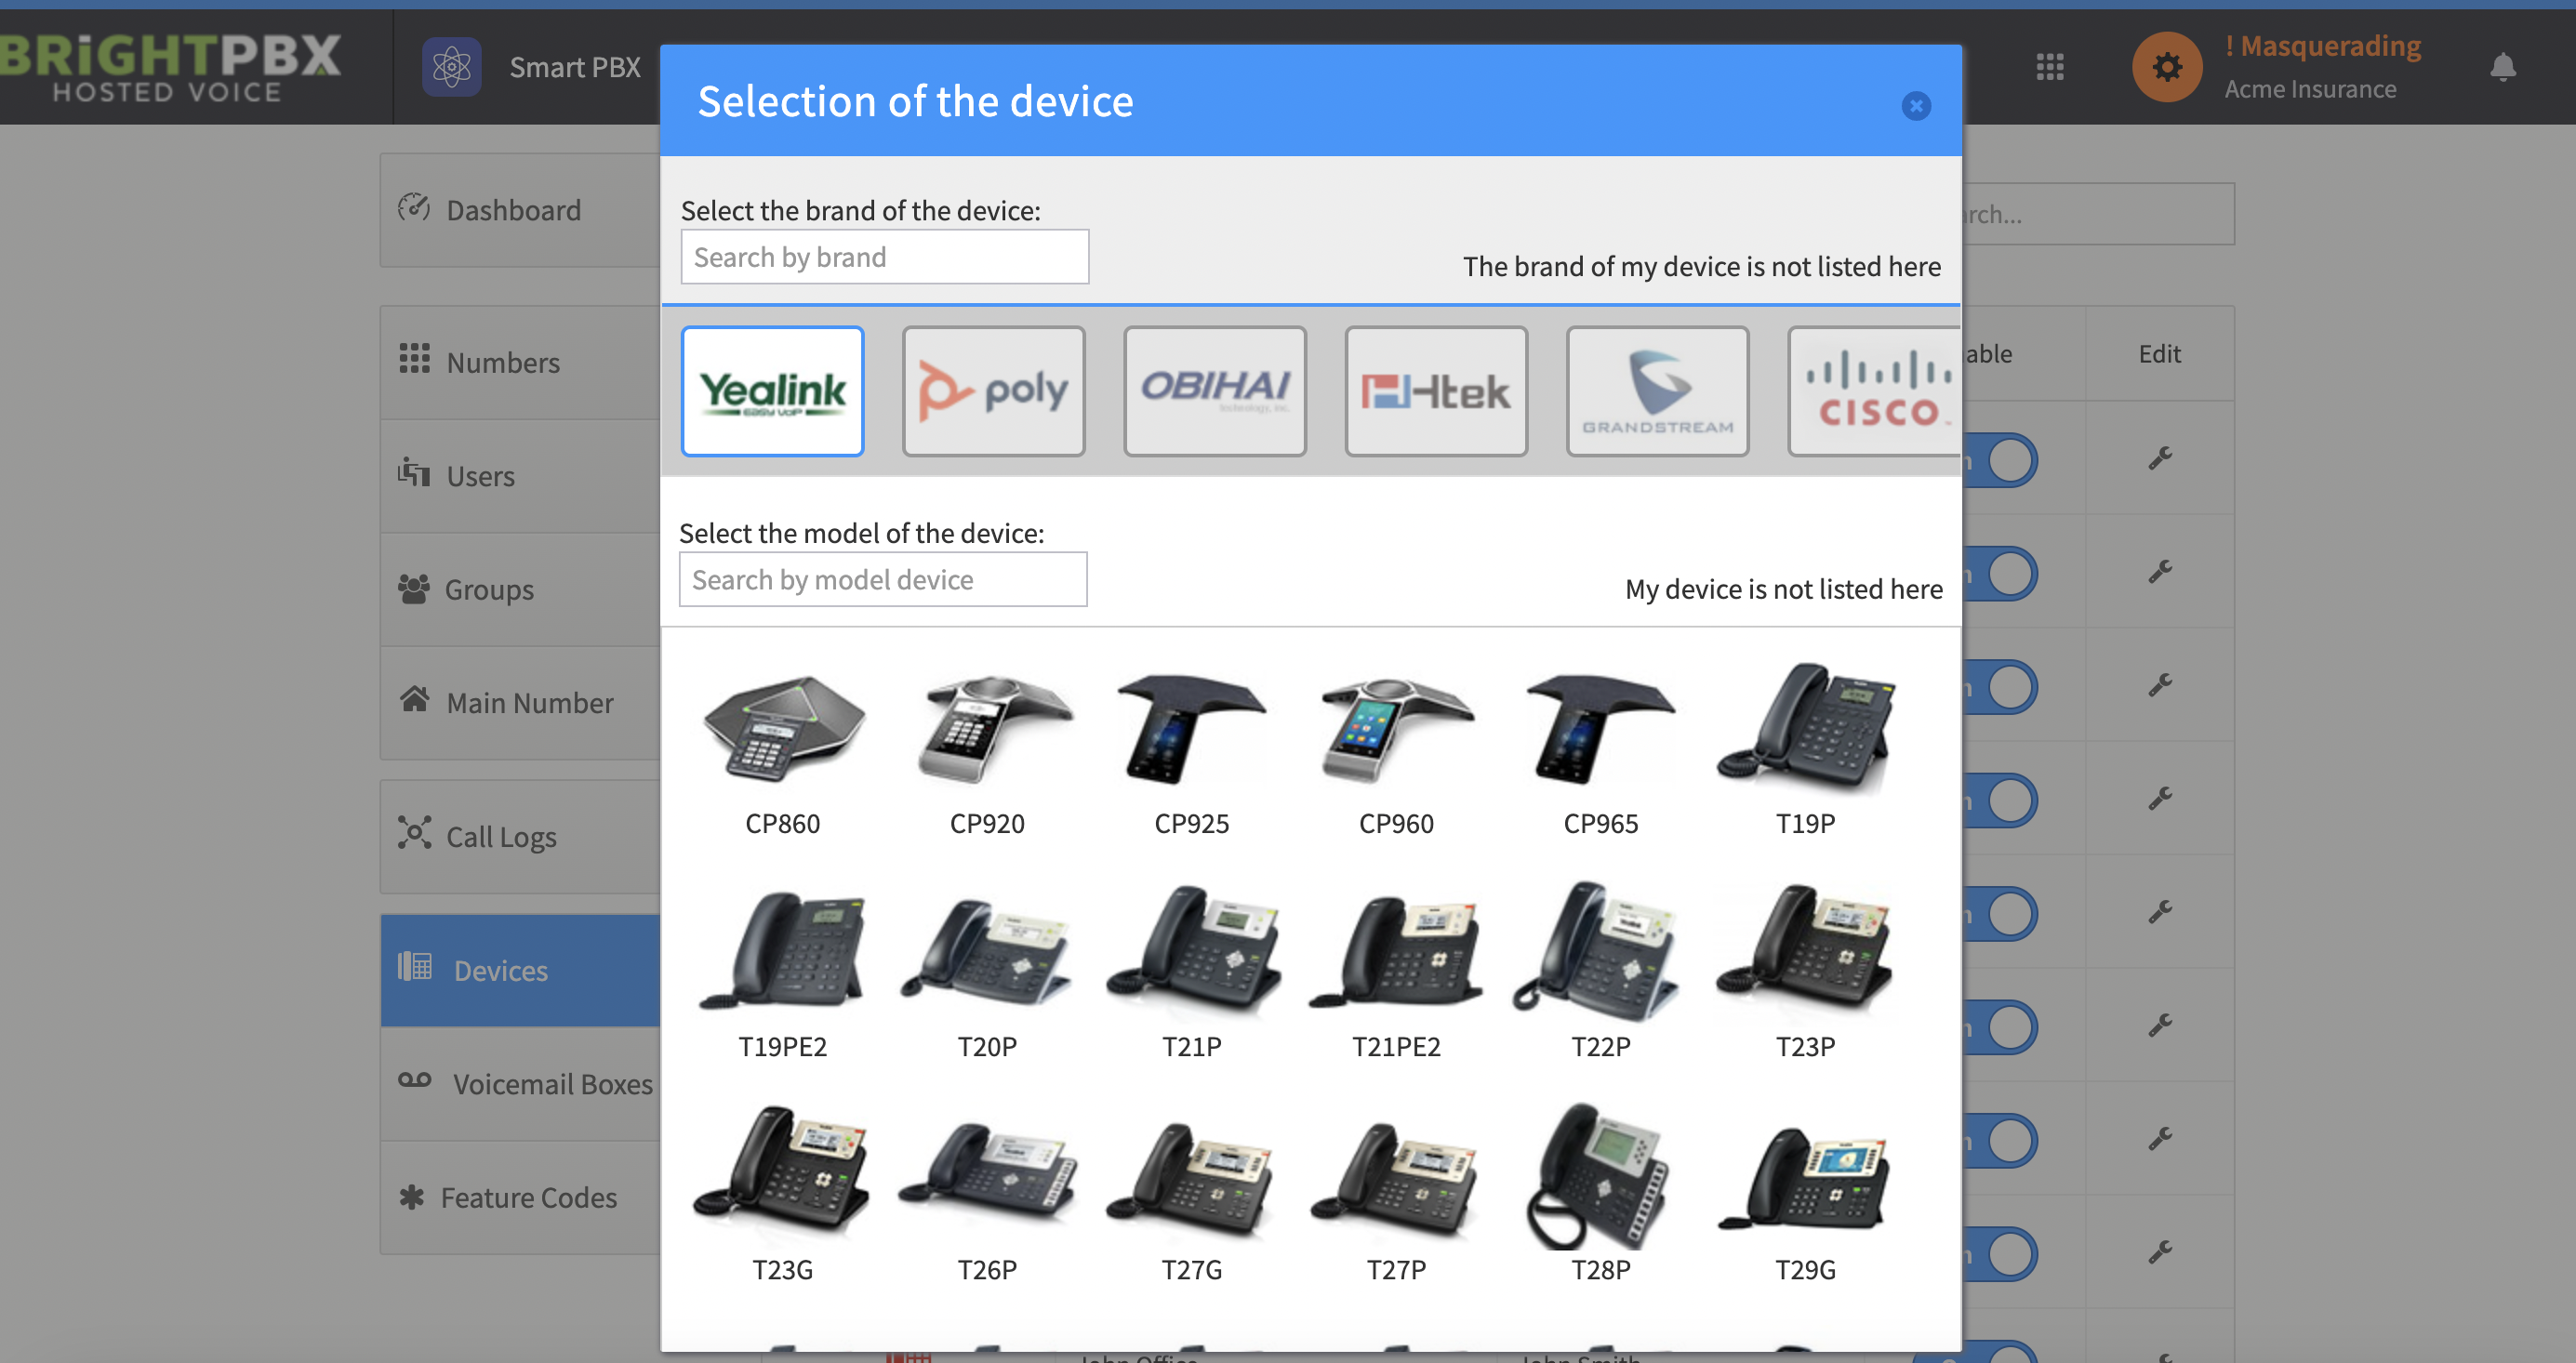
3. Choose your model. Ask us if yours is not listed.
4. Provide a name (it could be anything), enter the device MAC, and choose Create Device
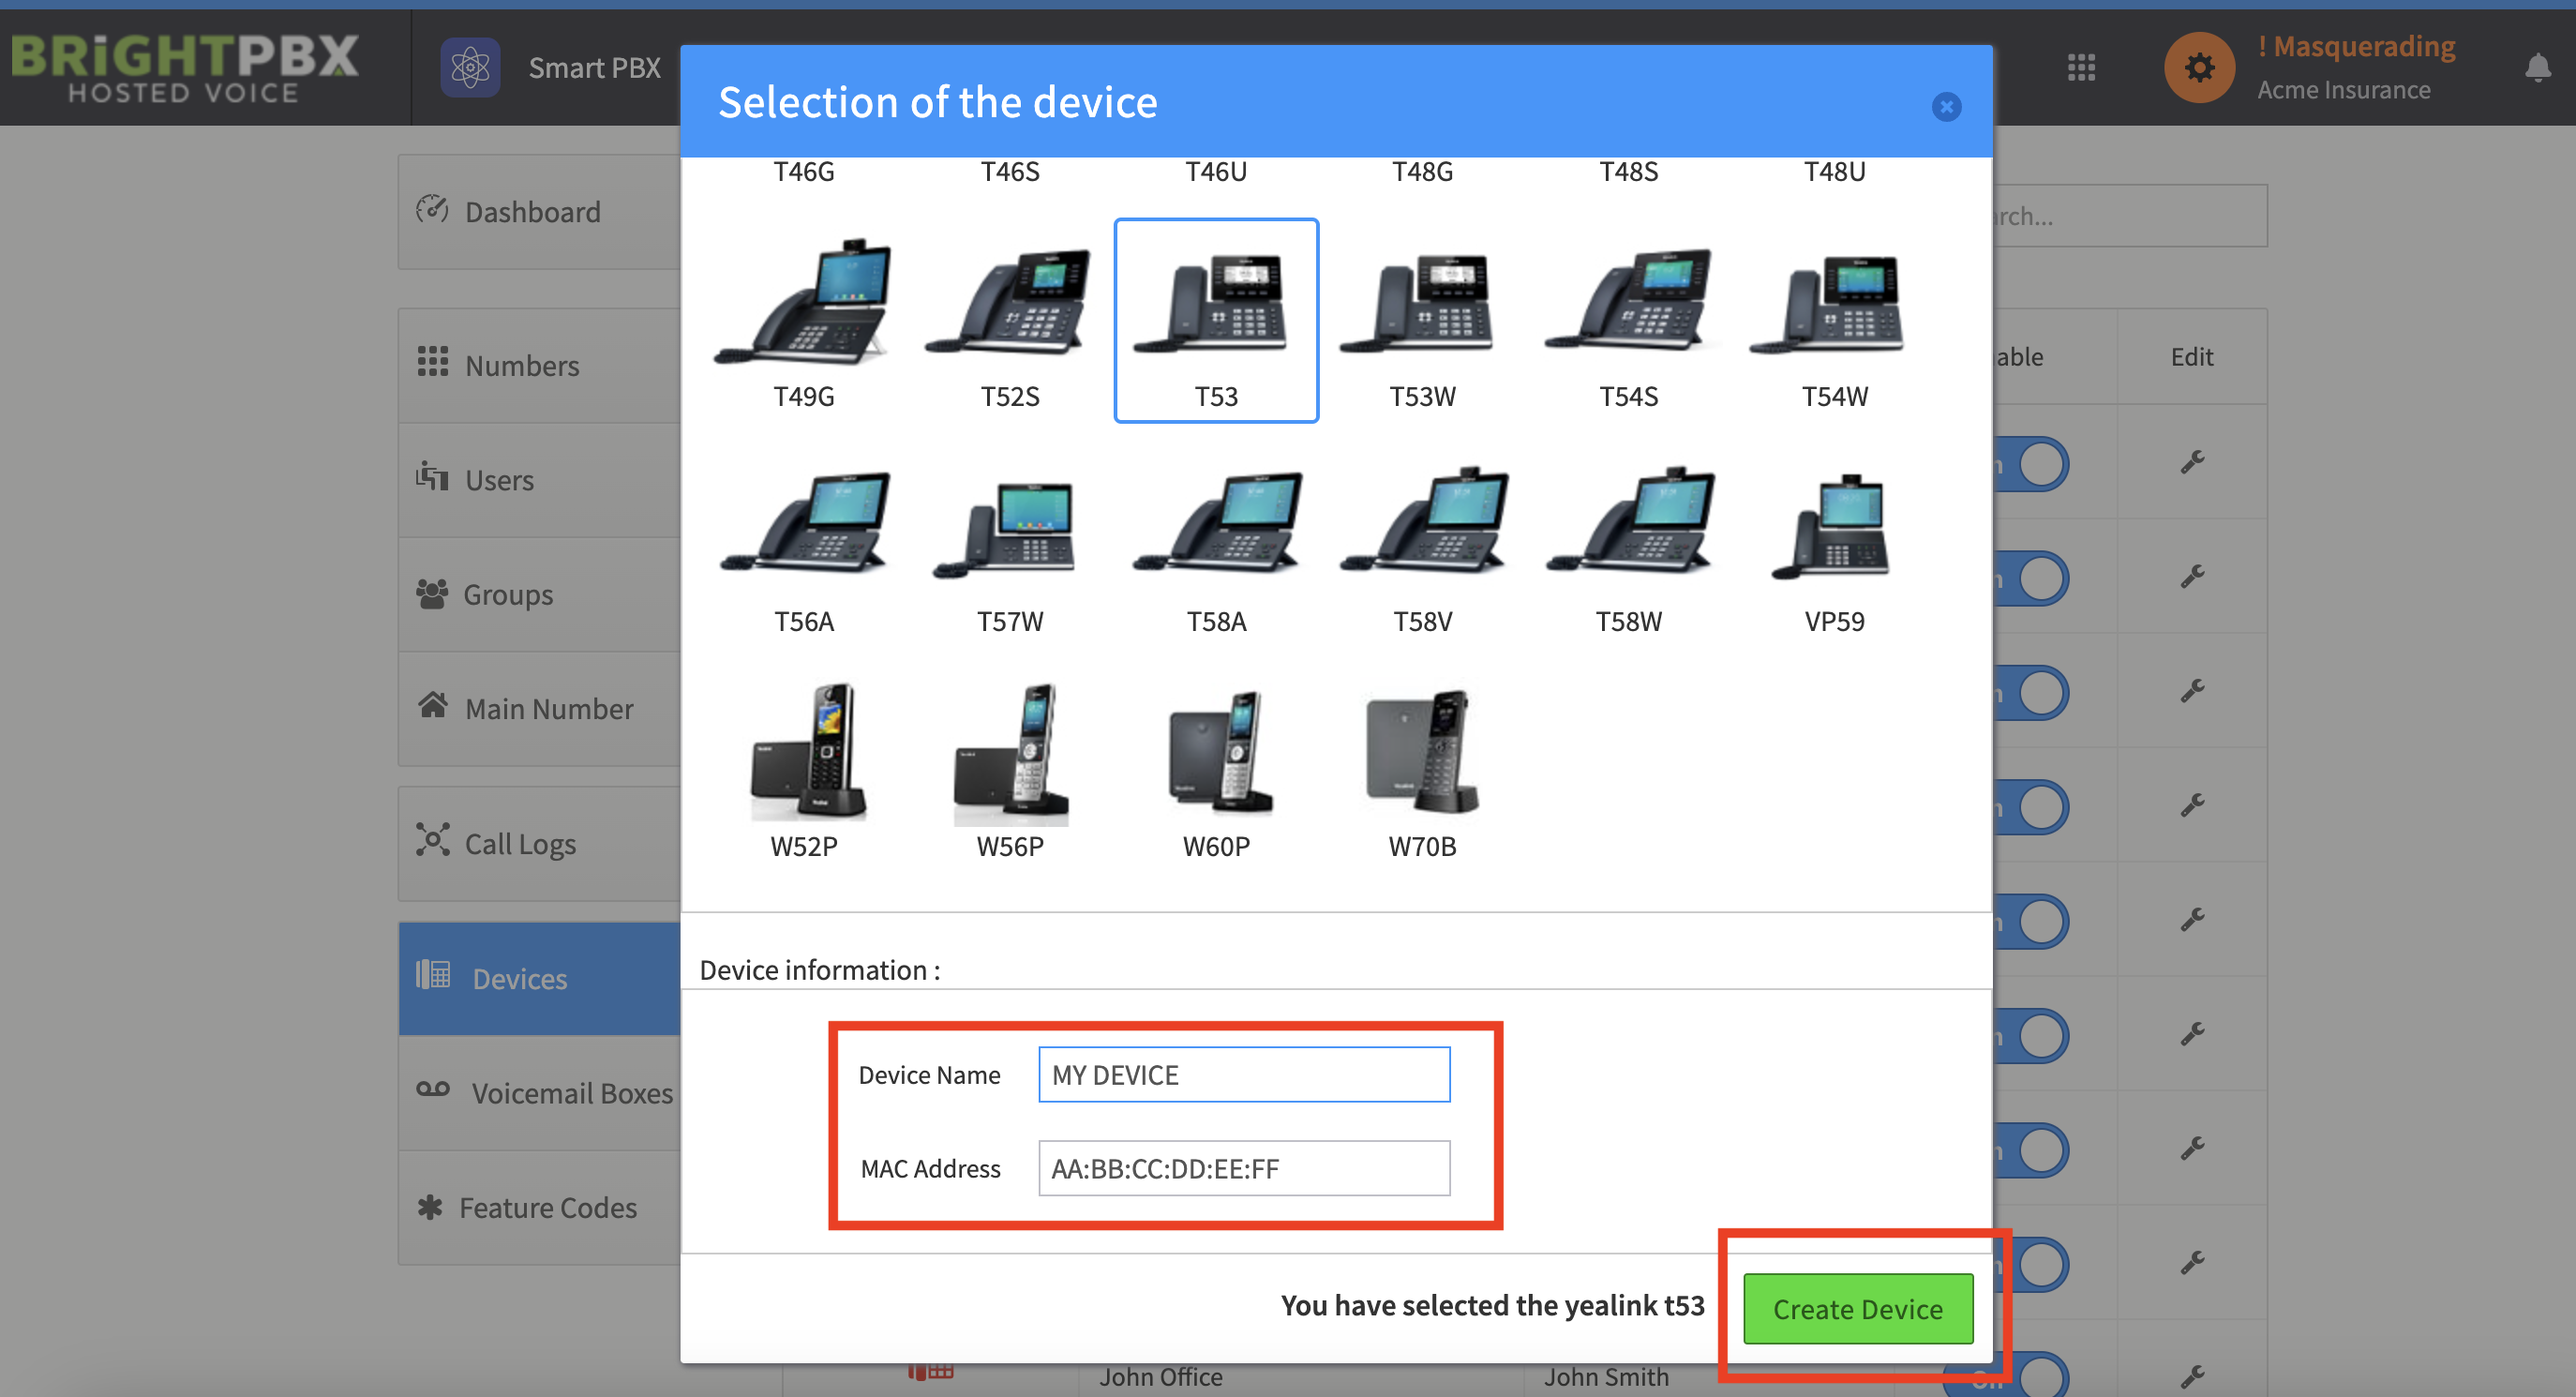
This will create the device in Smart PBX
You should now configure your device with our provisioning URL and attempt to plugin. Here are some guides for popular brands:
Configuring Grandstream GXP21xx series
You must add the device in Smart PBX before adding the Provisioning URL to the device & booting it up. Our provisioner has a security measure where it logs failed attempts at retrieving a config file. Without adding the device first, the device will trigger the security measure and Provisioner logs it as a failed attempt. After 10 unique failed attempts from a given IP, that IP will be banned for an hour. So any phones previously provisioned will also not be able to retrieve their config files.