PBX Connector
Connecting your PBX
Section titled “Connecting your PBX”-
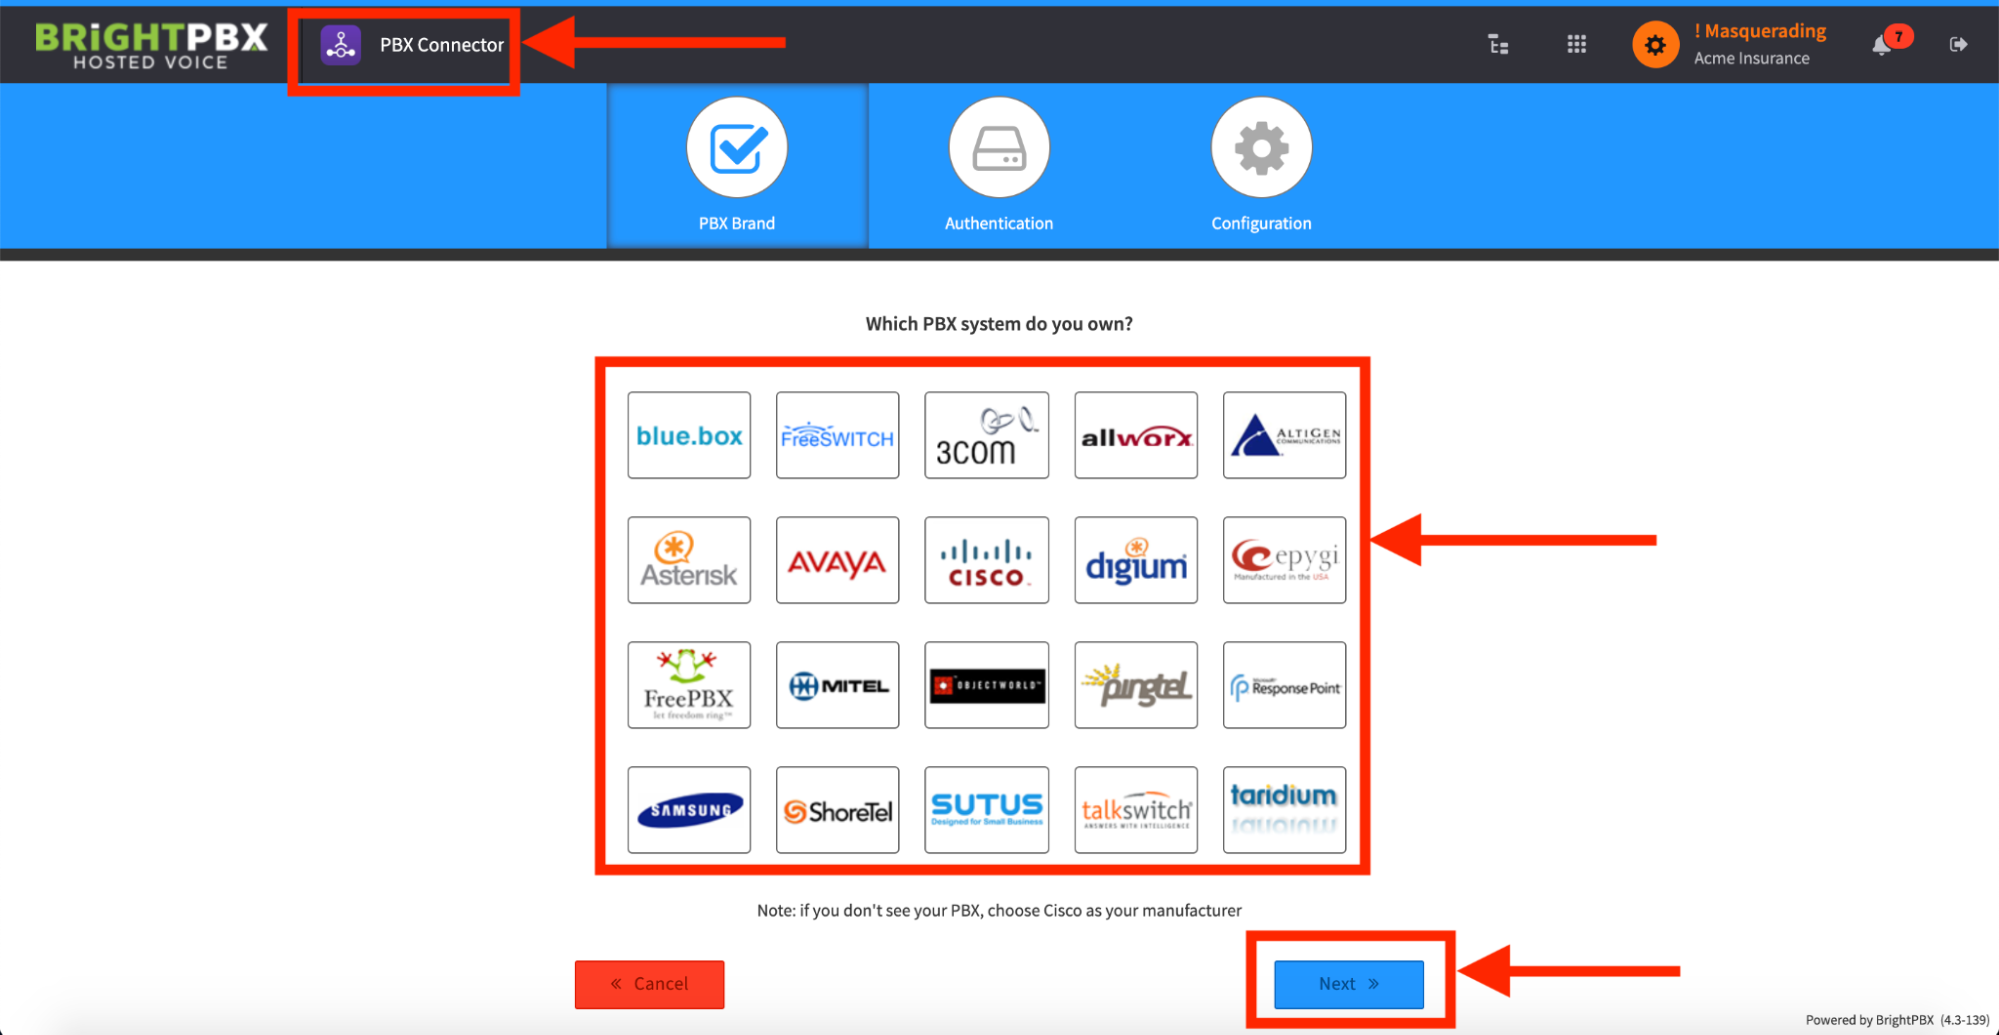
Open the PBX Connector app, choose your brand from the list, and click Next
-
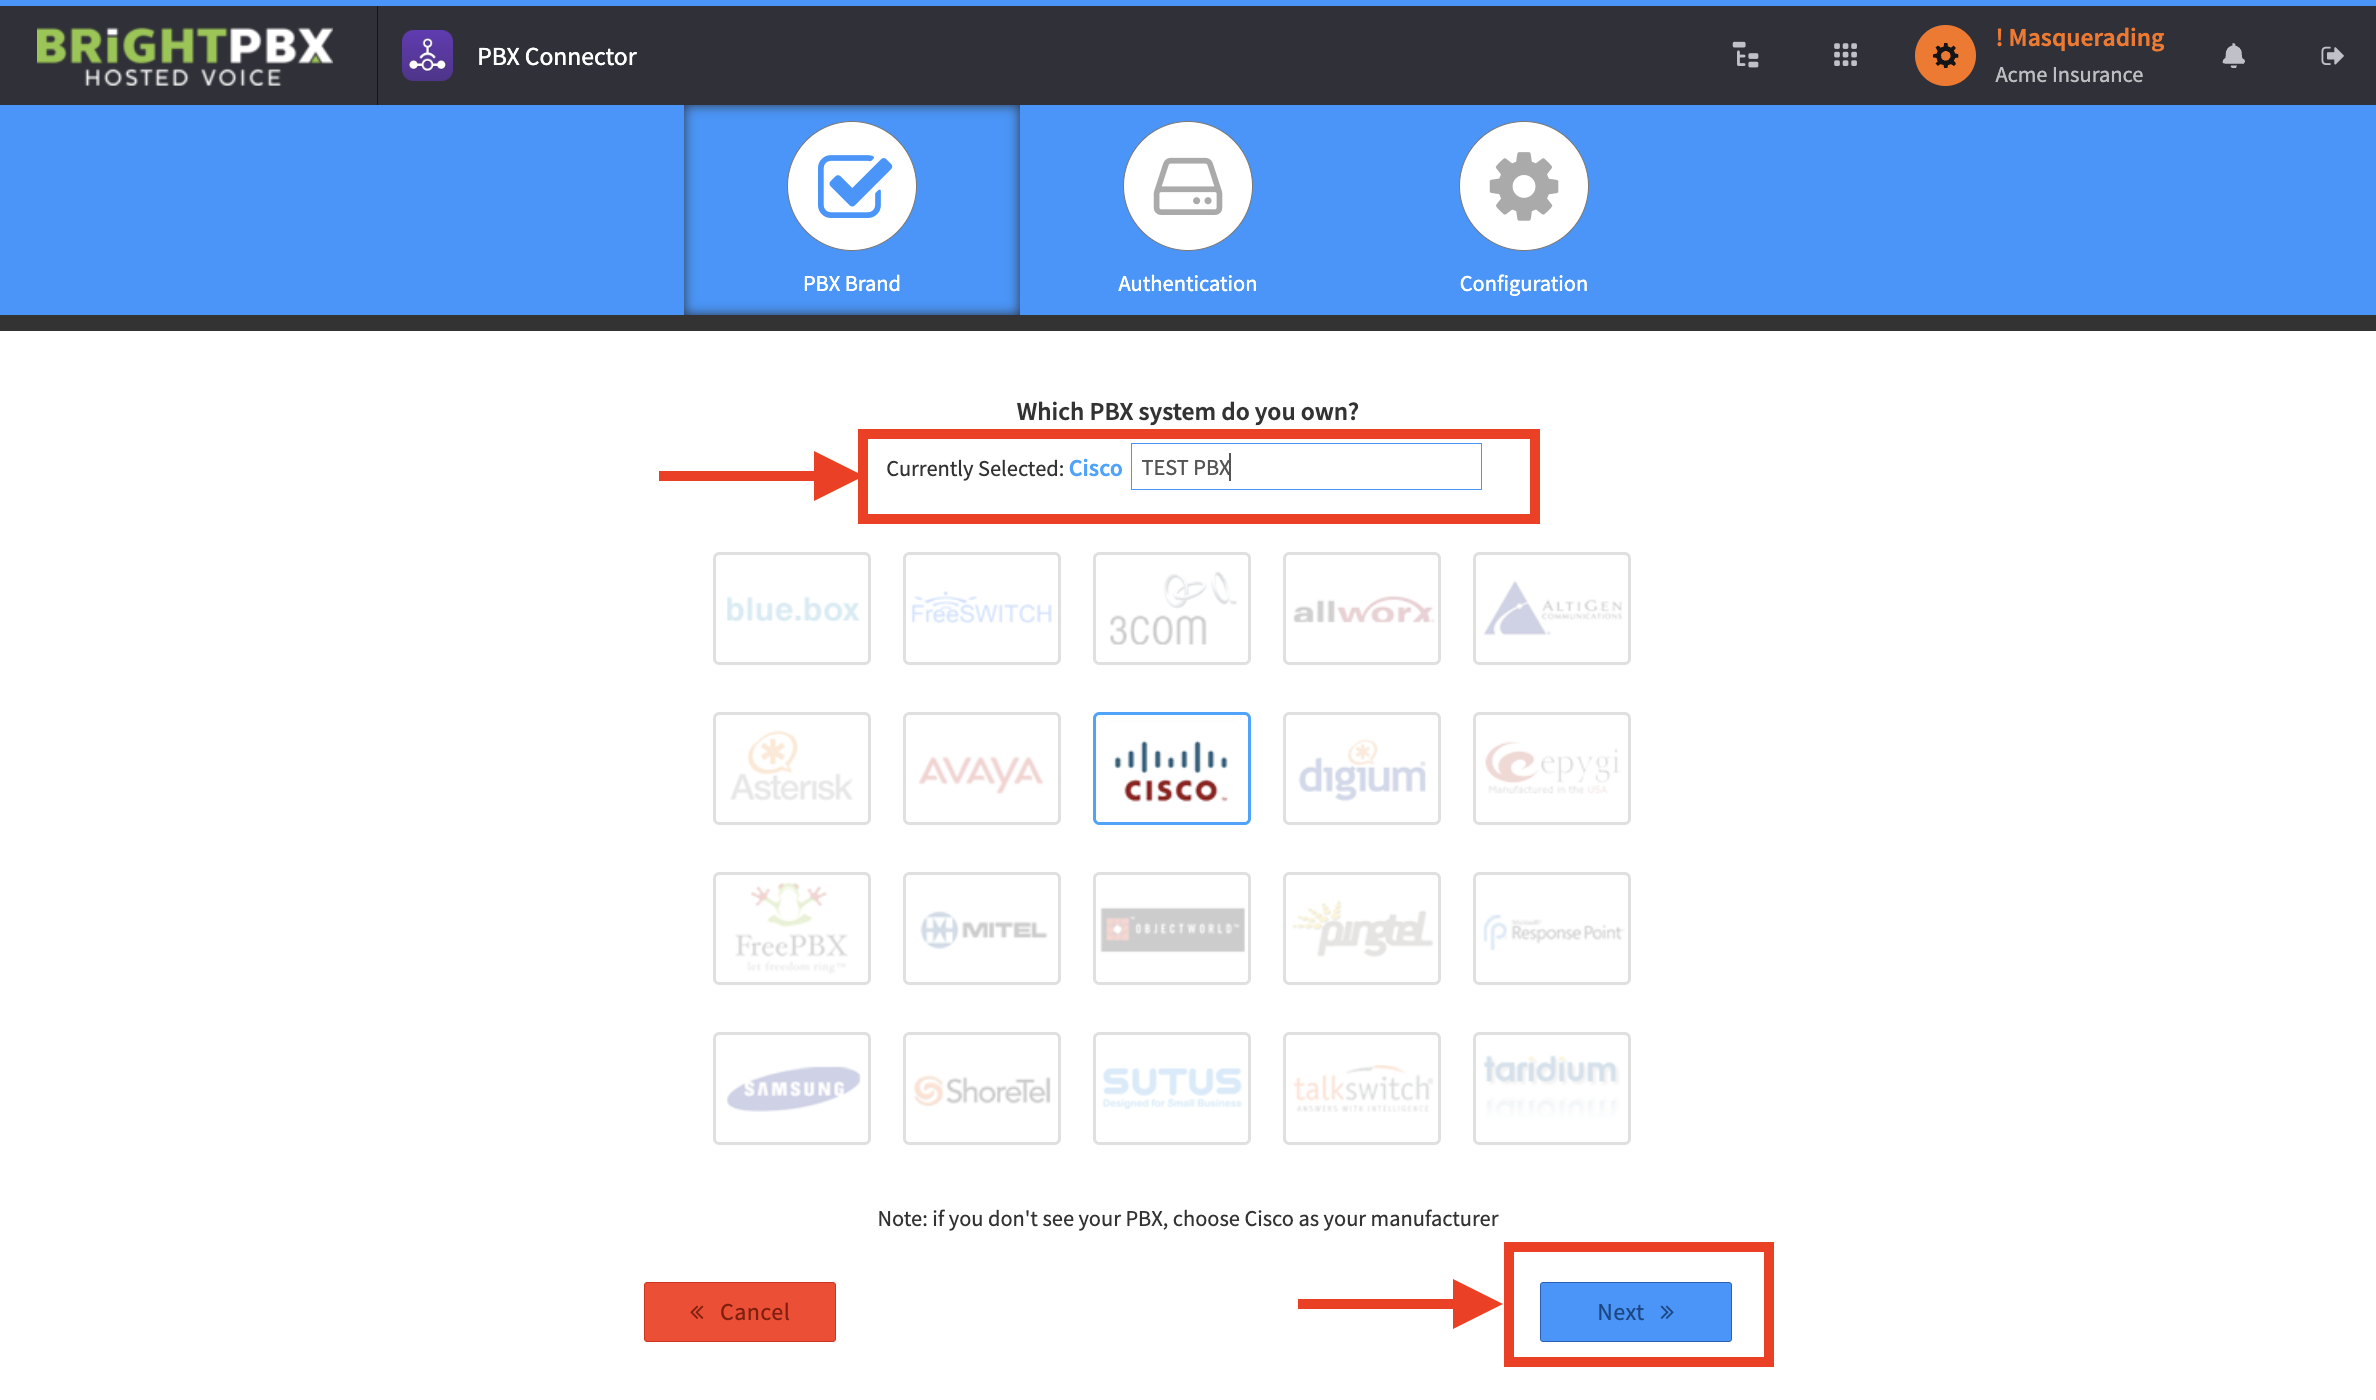
Enter a name for your PBX and click Next
-
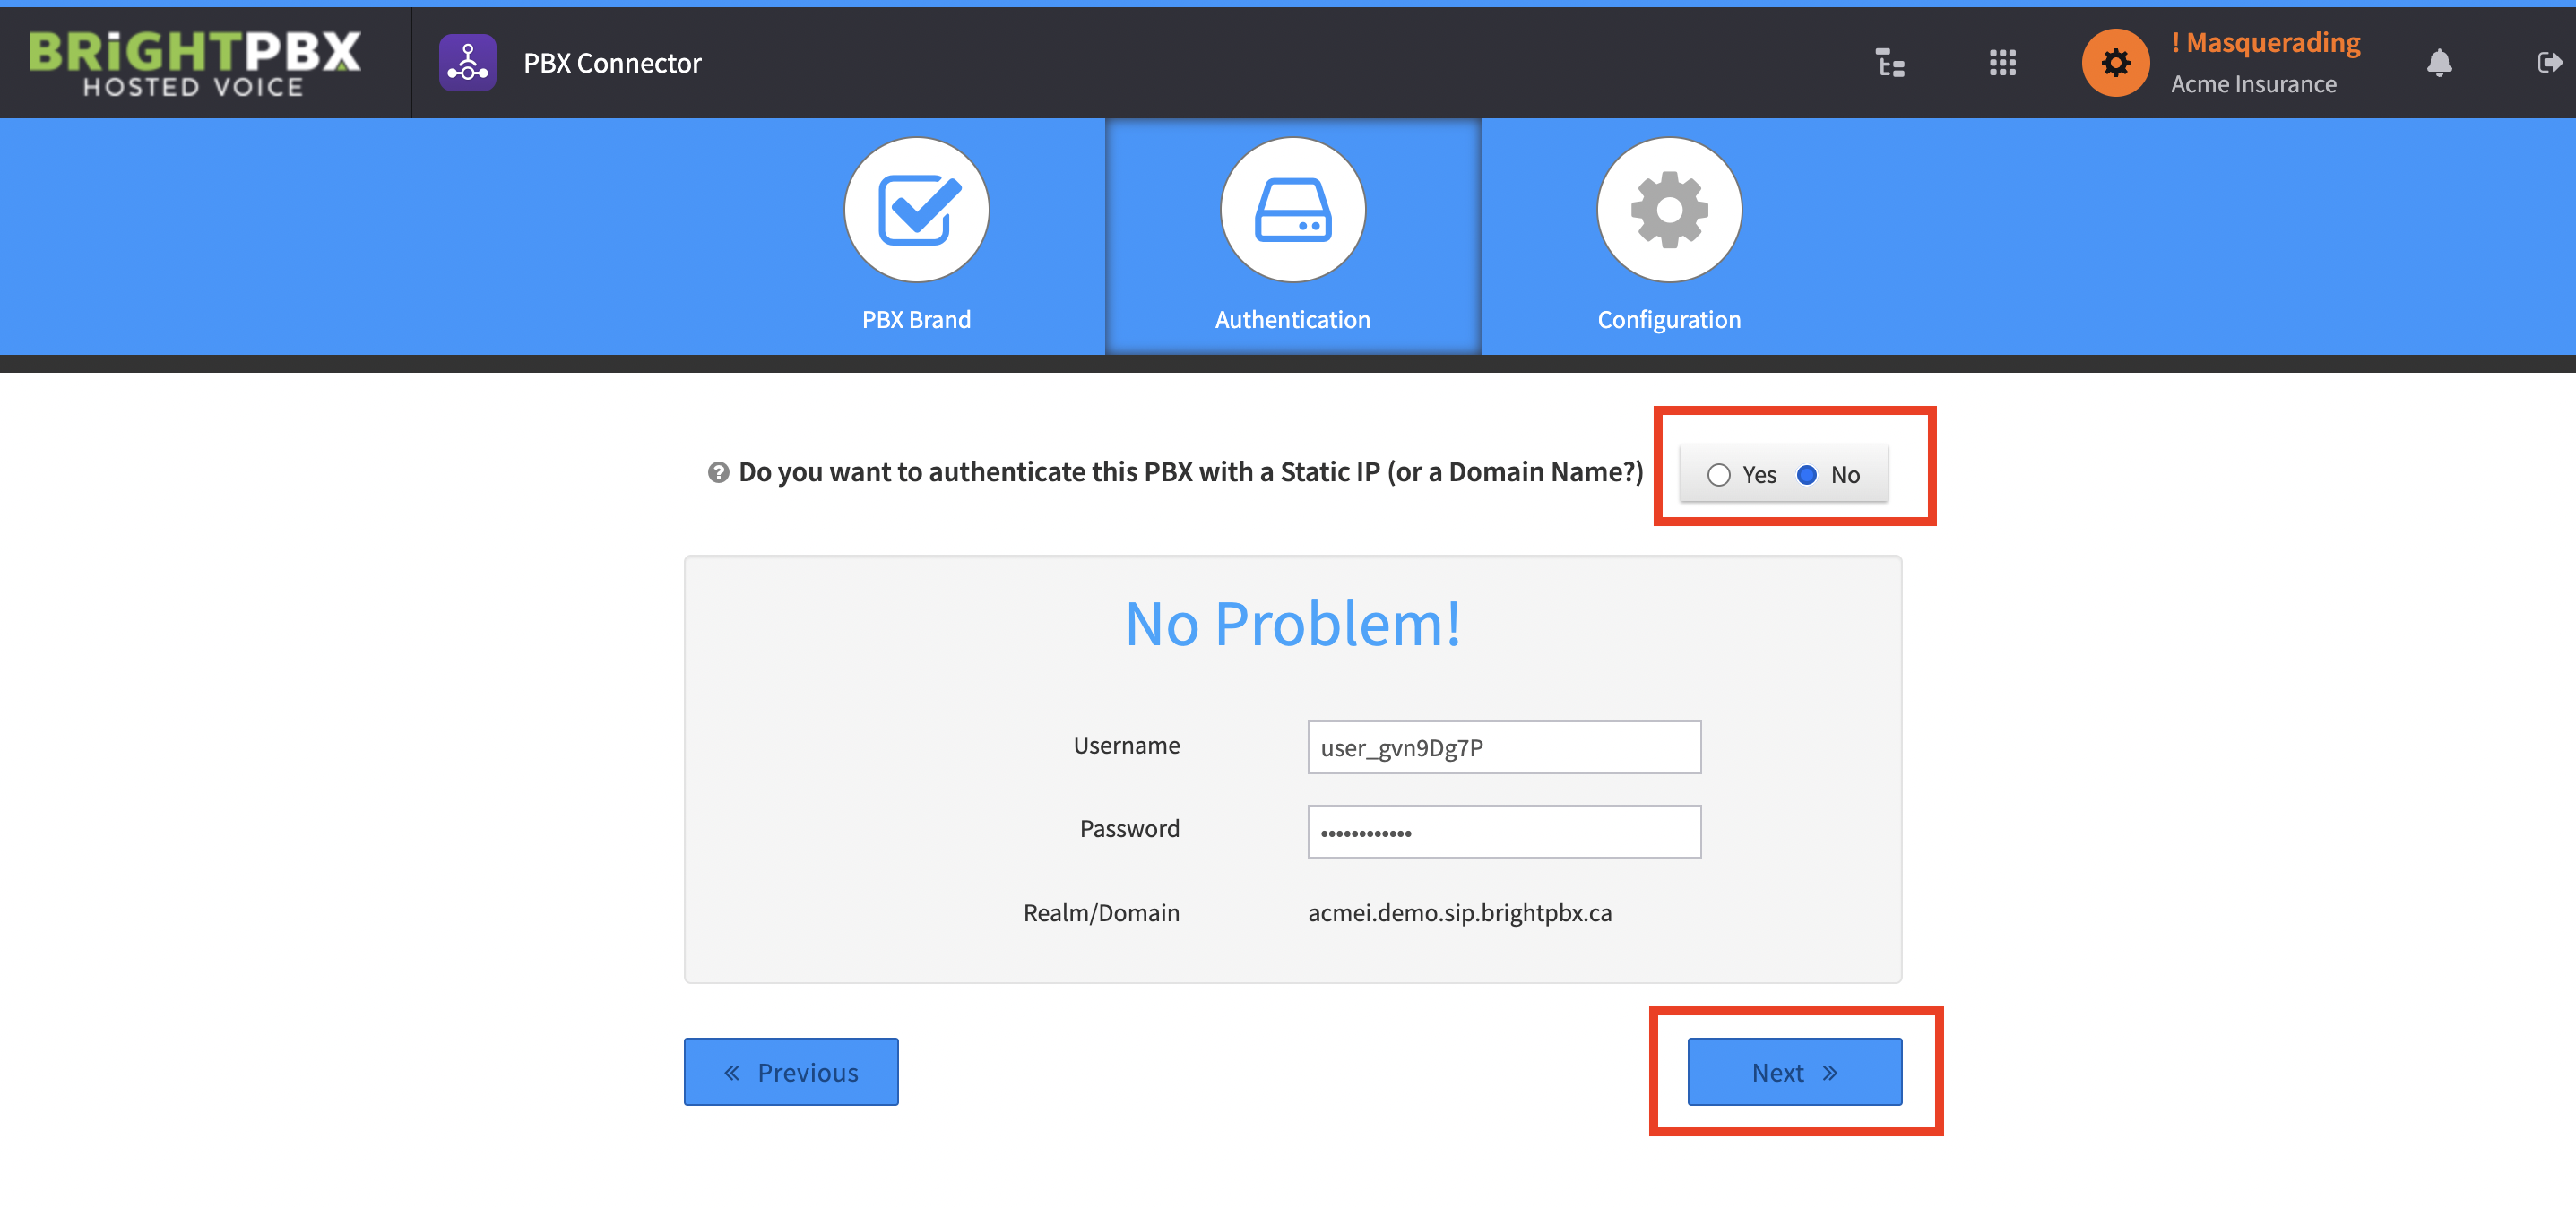
Choose whether you want to authenticate via username and password, or by IP
-
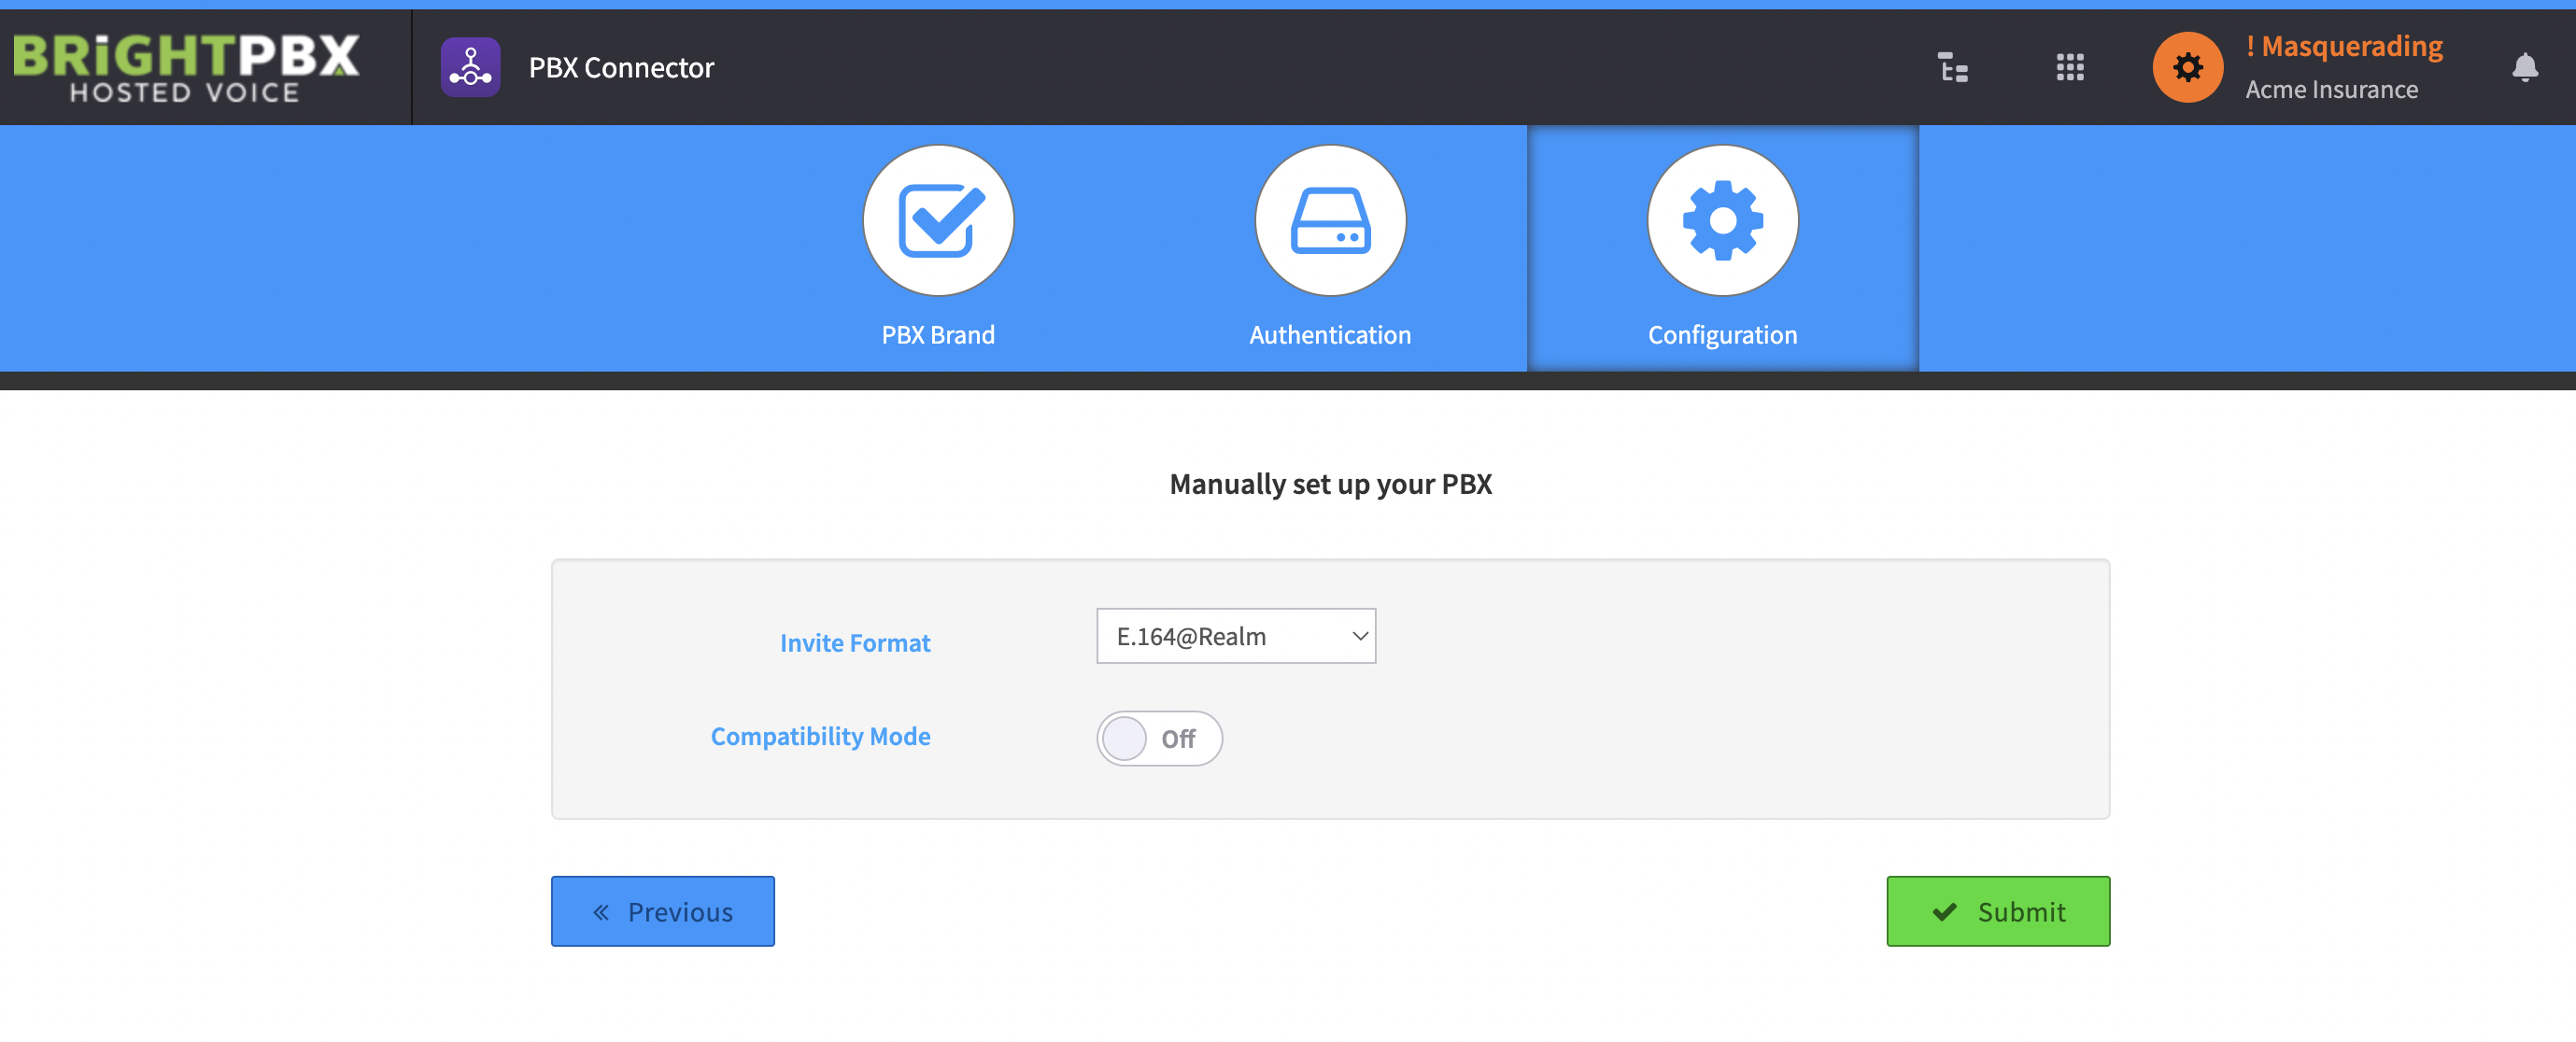
Choose your PBX invite and compatibility format, which is specific to your PBX, and click Next
-
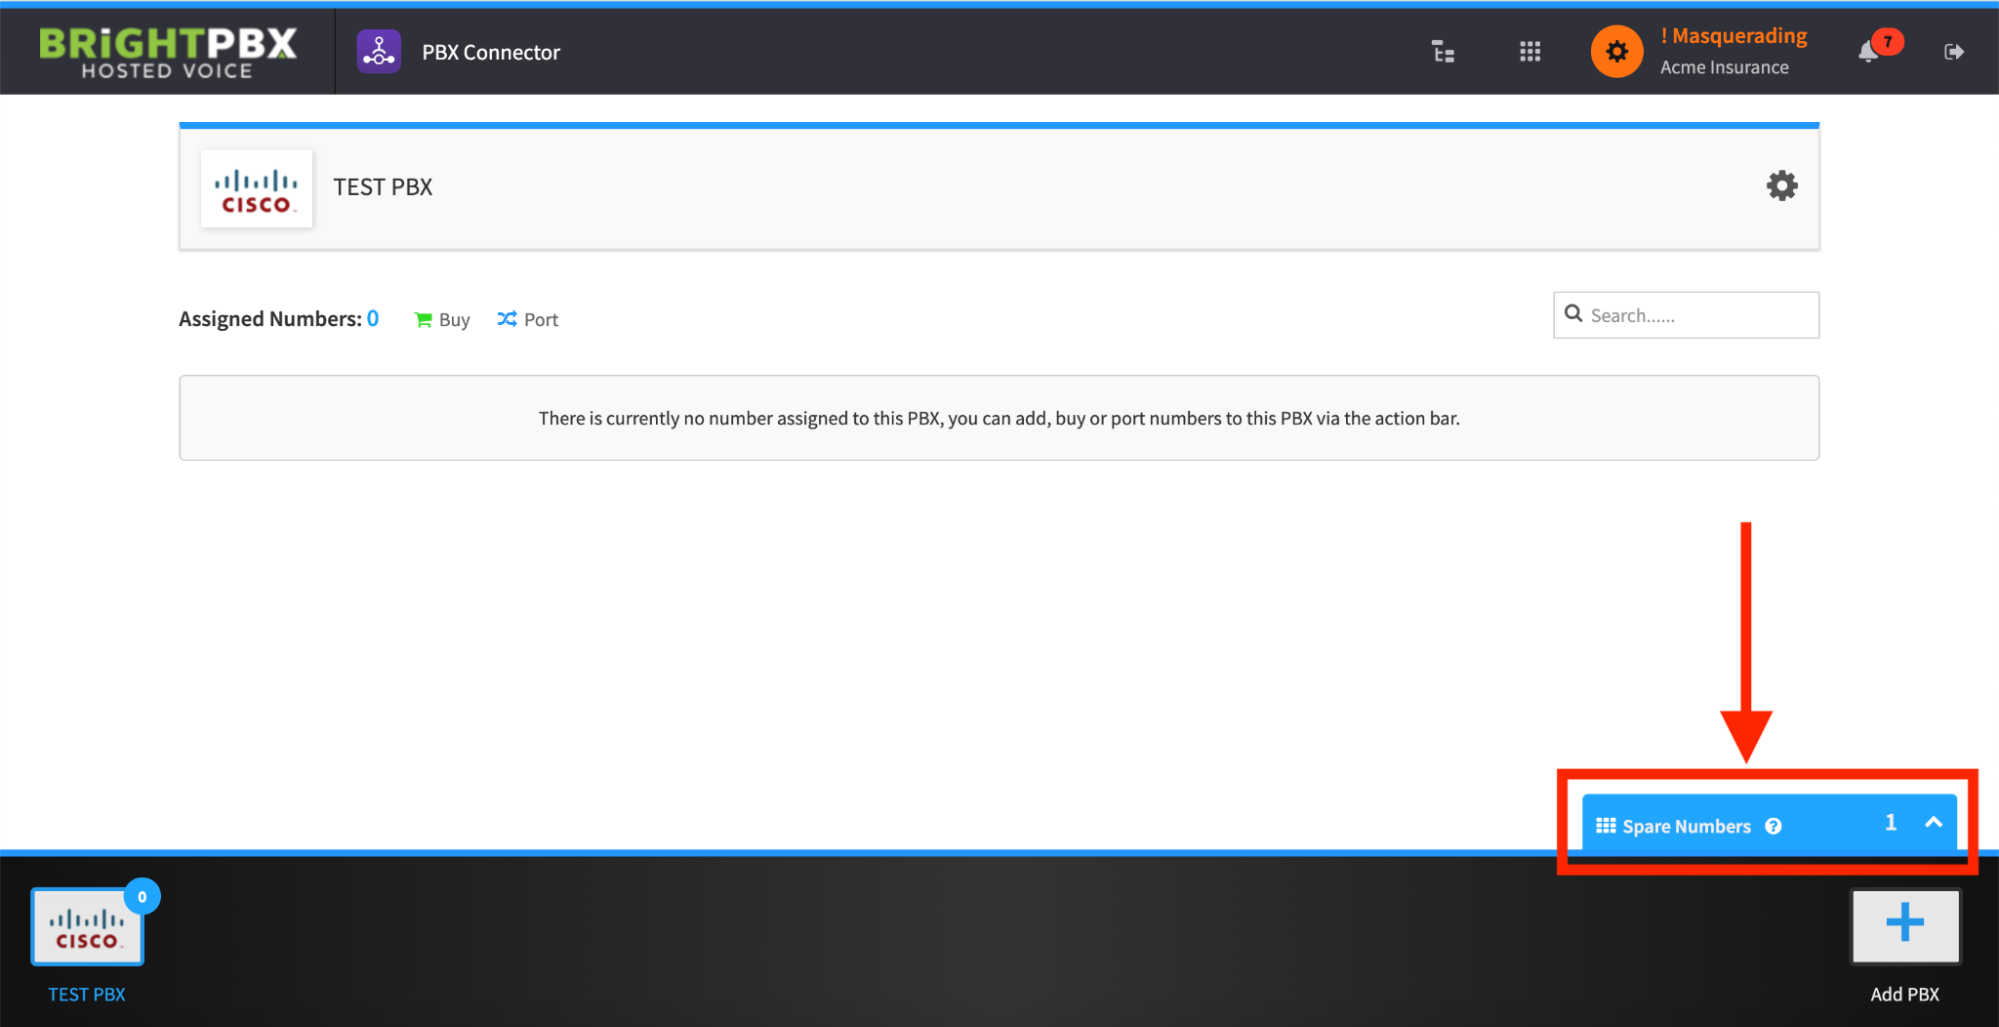
Choose Spare Numbers from the bottom right
-
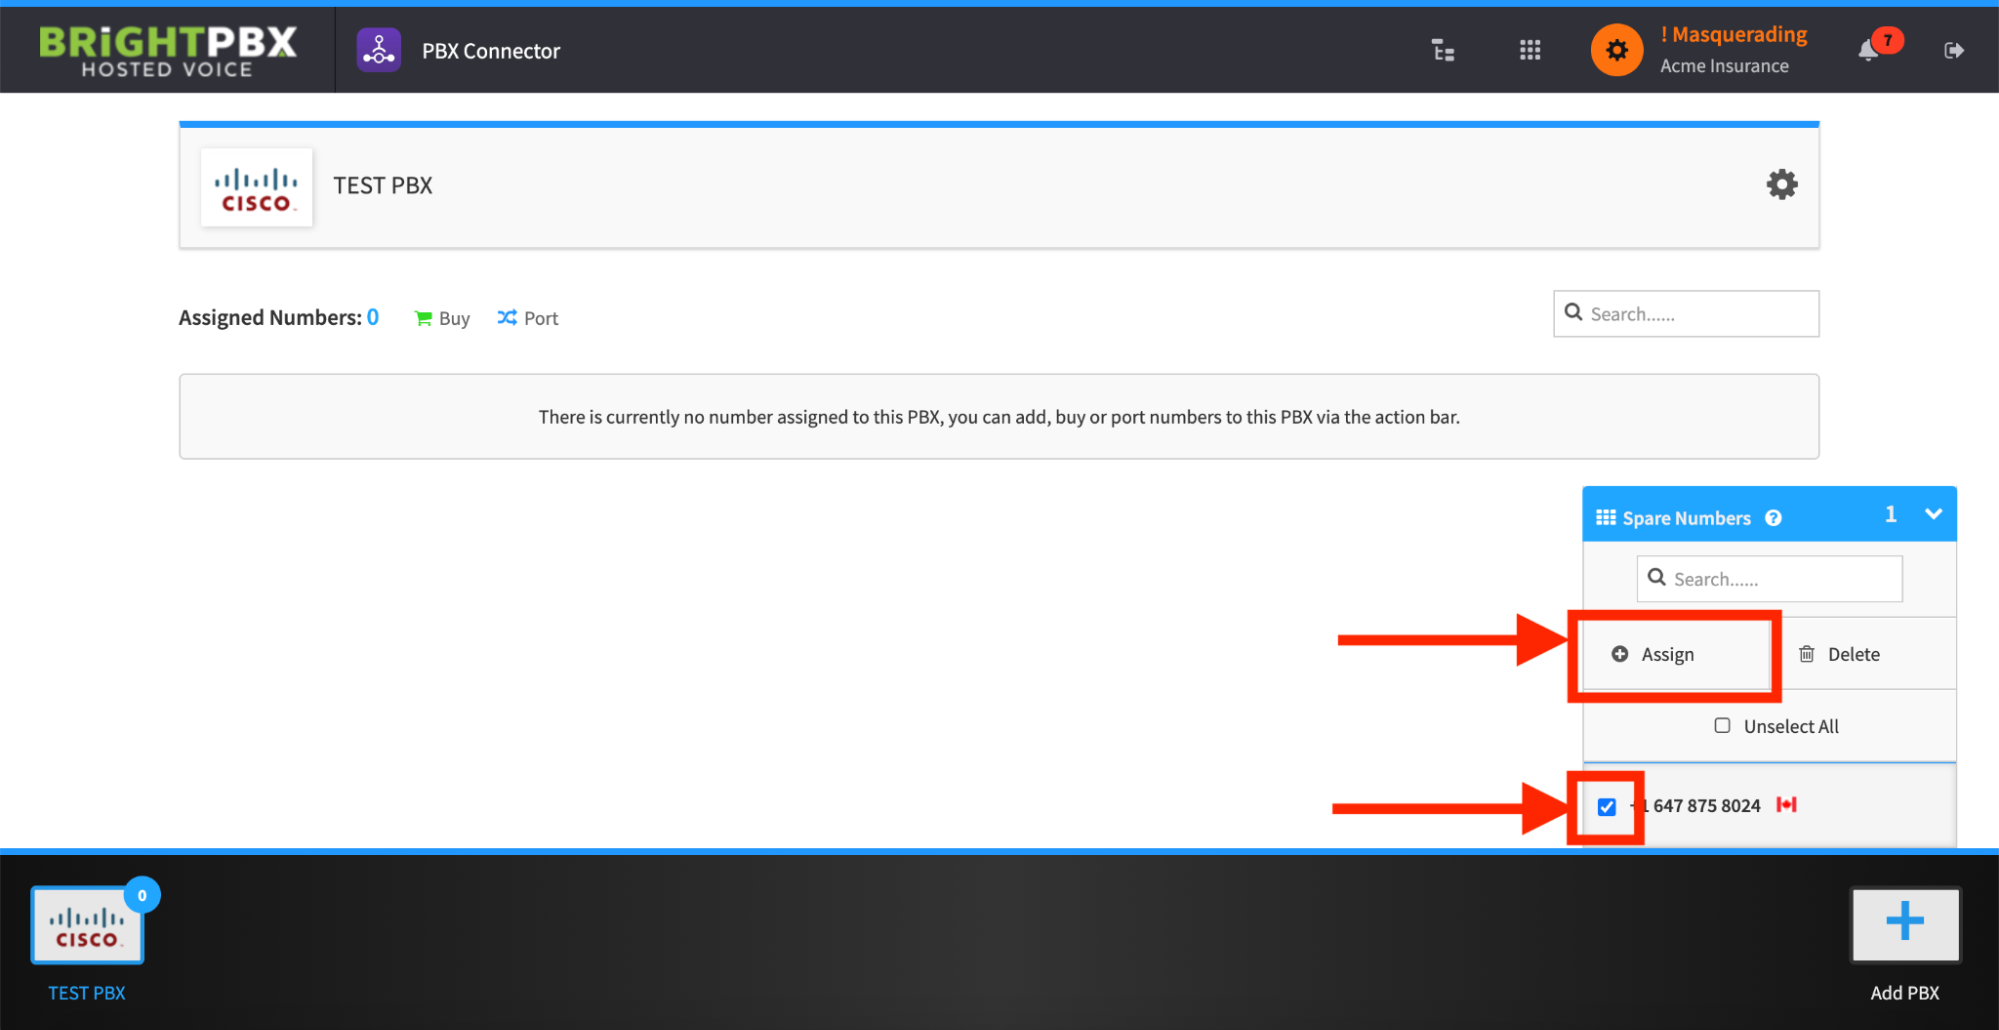
Choose your DIDs and click Assign
-
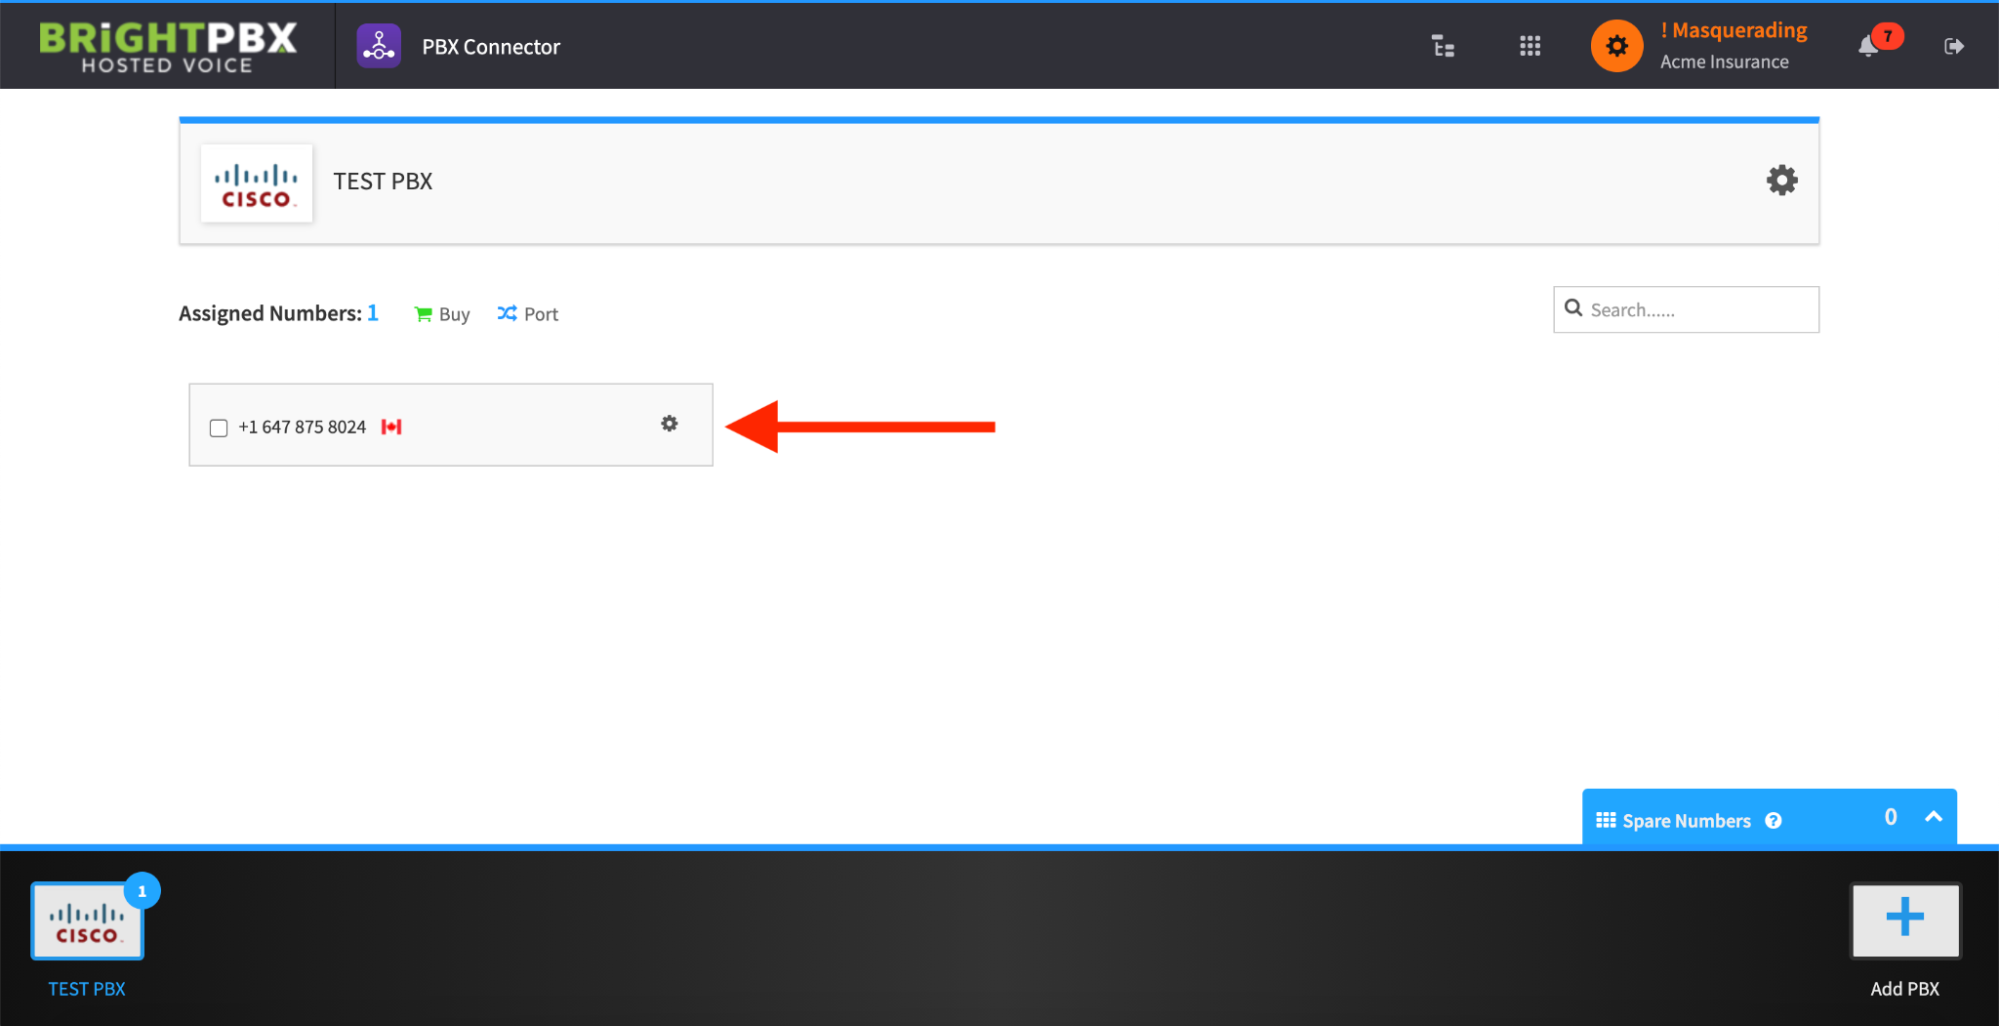
Your PBX is set up and ready to use. Enter the username, password, and realm from step 3 into your PBX, and you can begin making and receiving calls on your assigned DIDs.
Setting up SIP trunk failover
Section titled “Setting up SIP trunk failover”This step is optional.
-
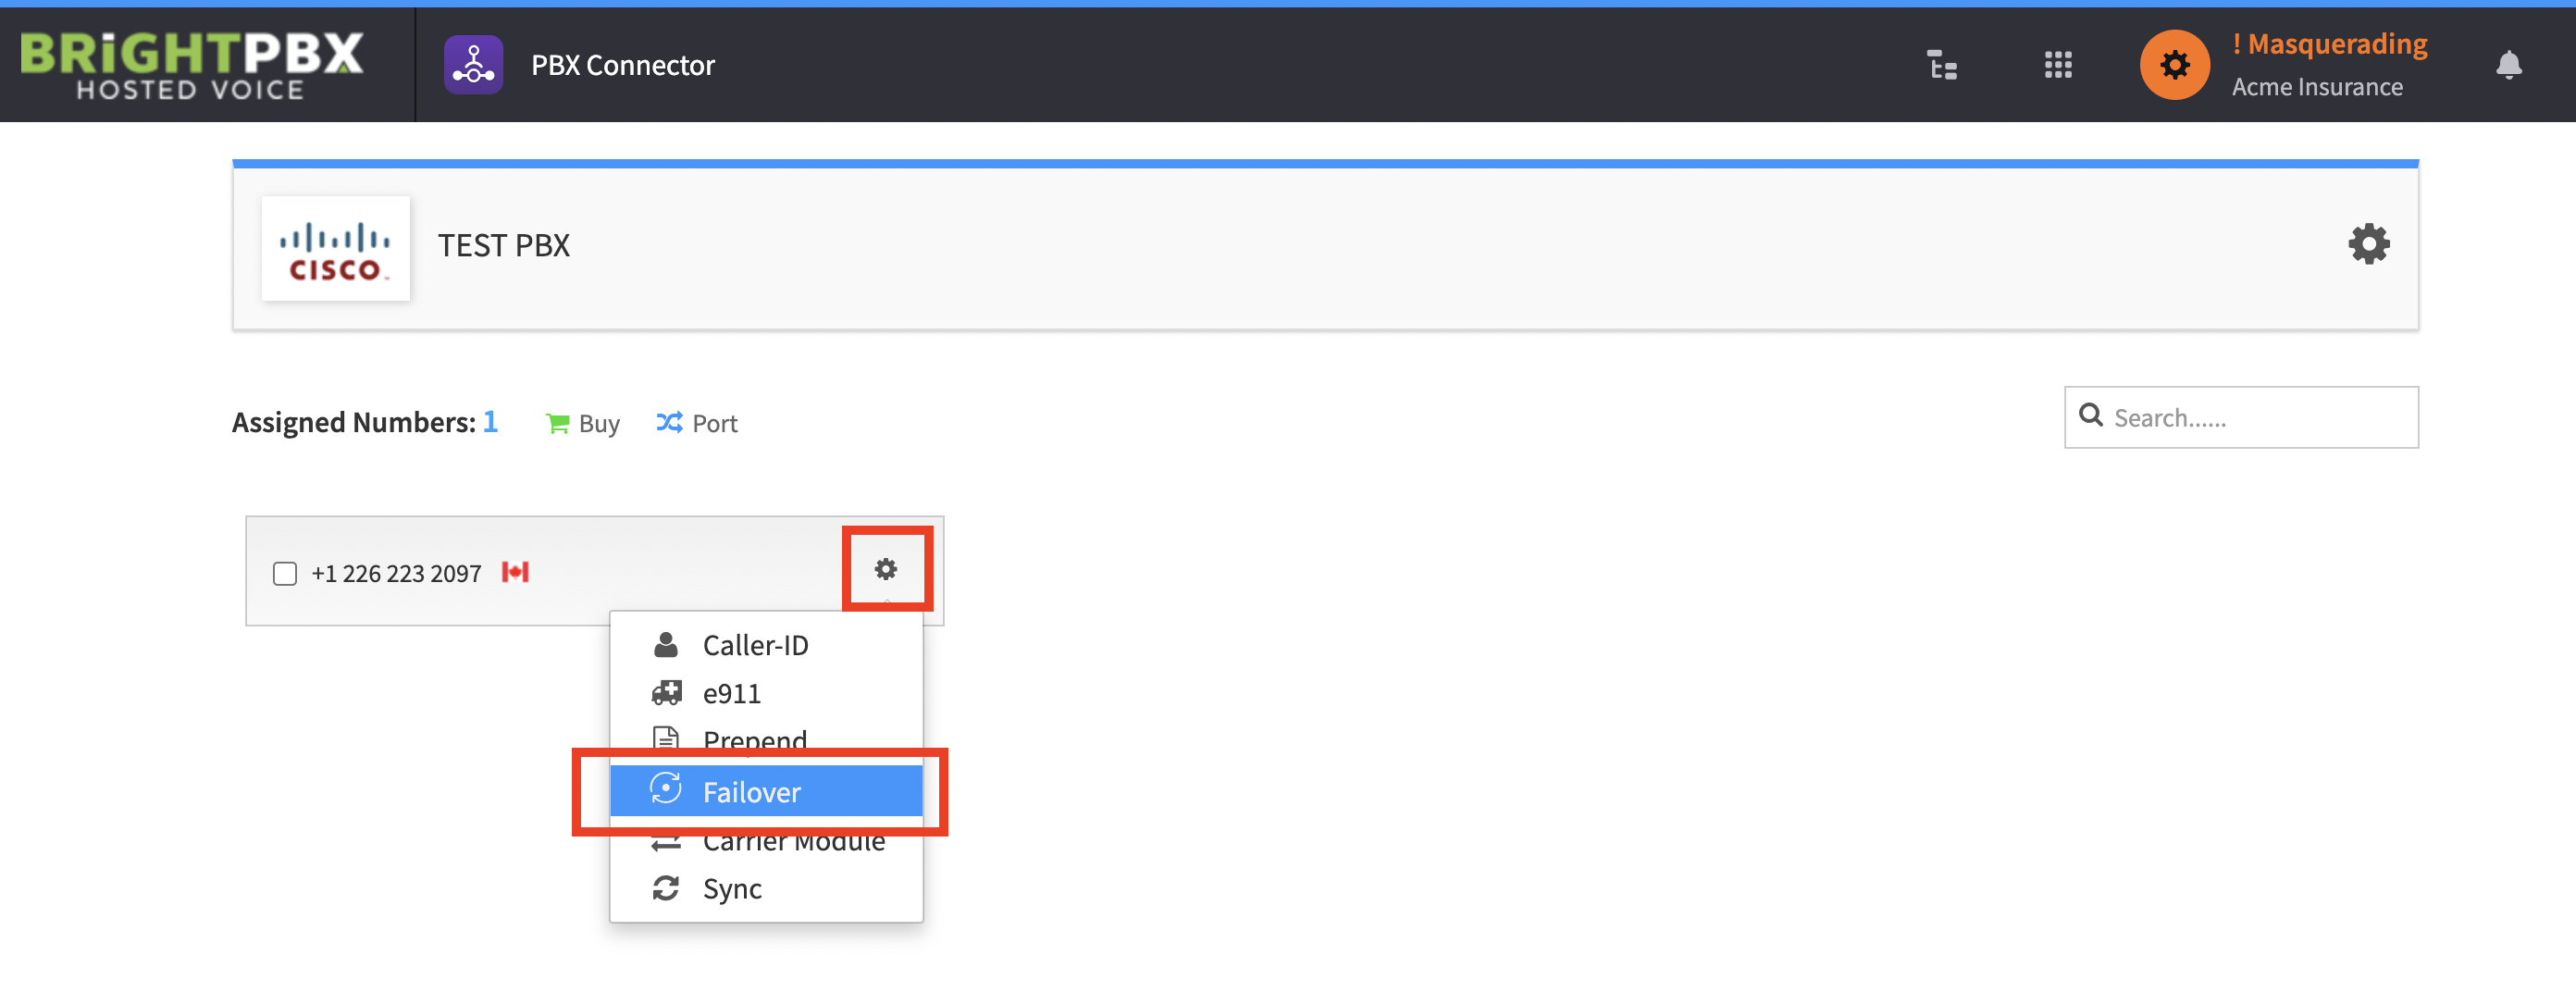
Click the gear icon and choose Failover
-
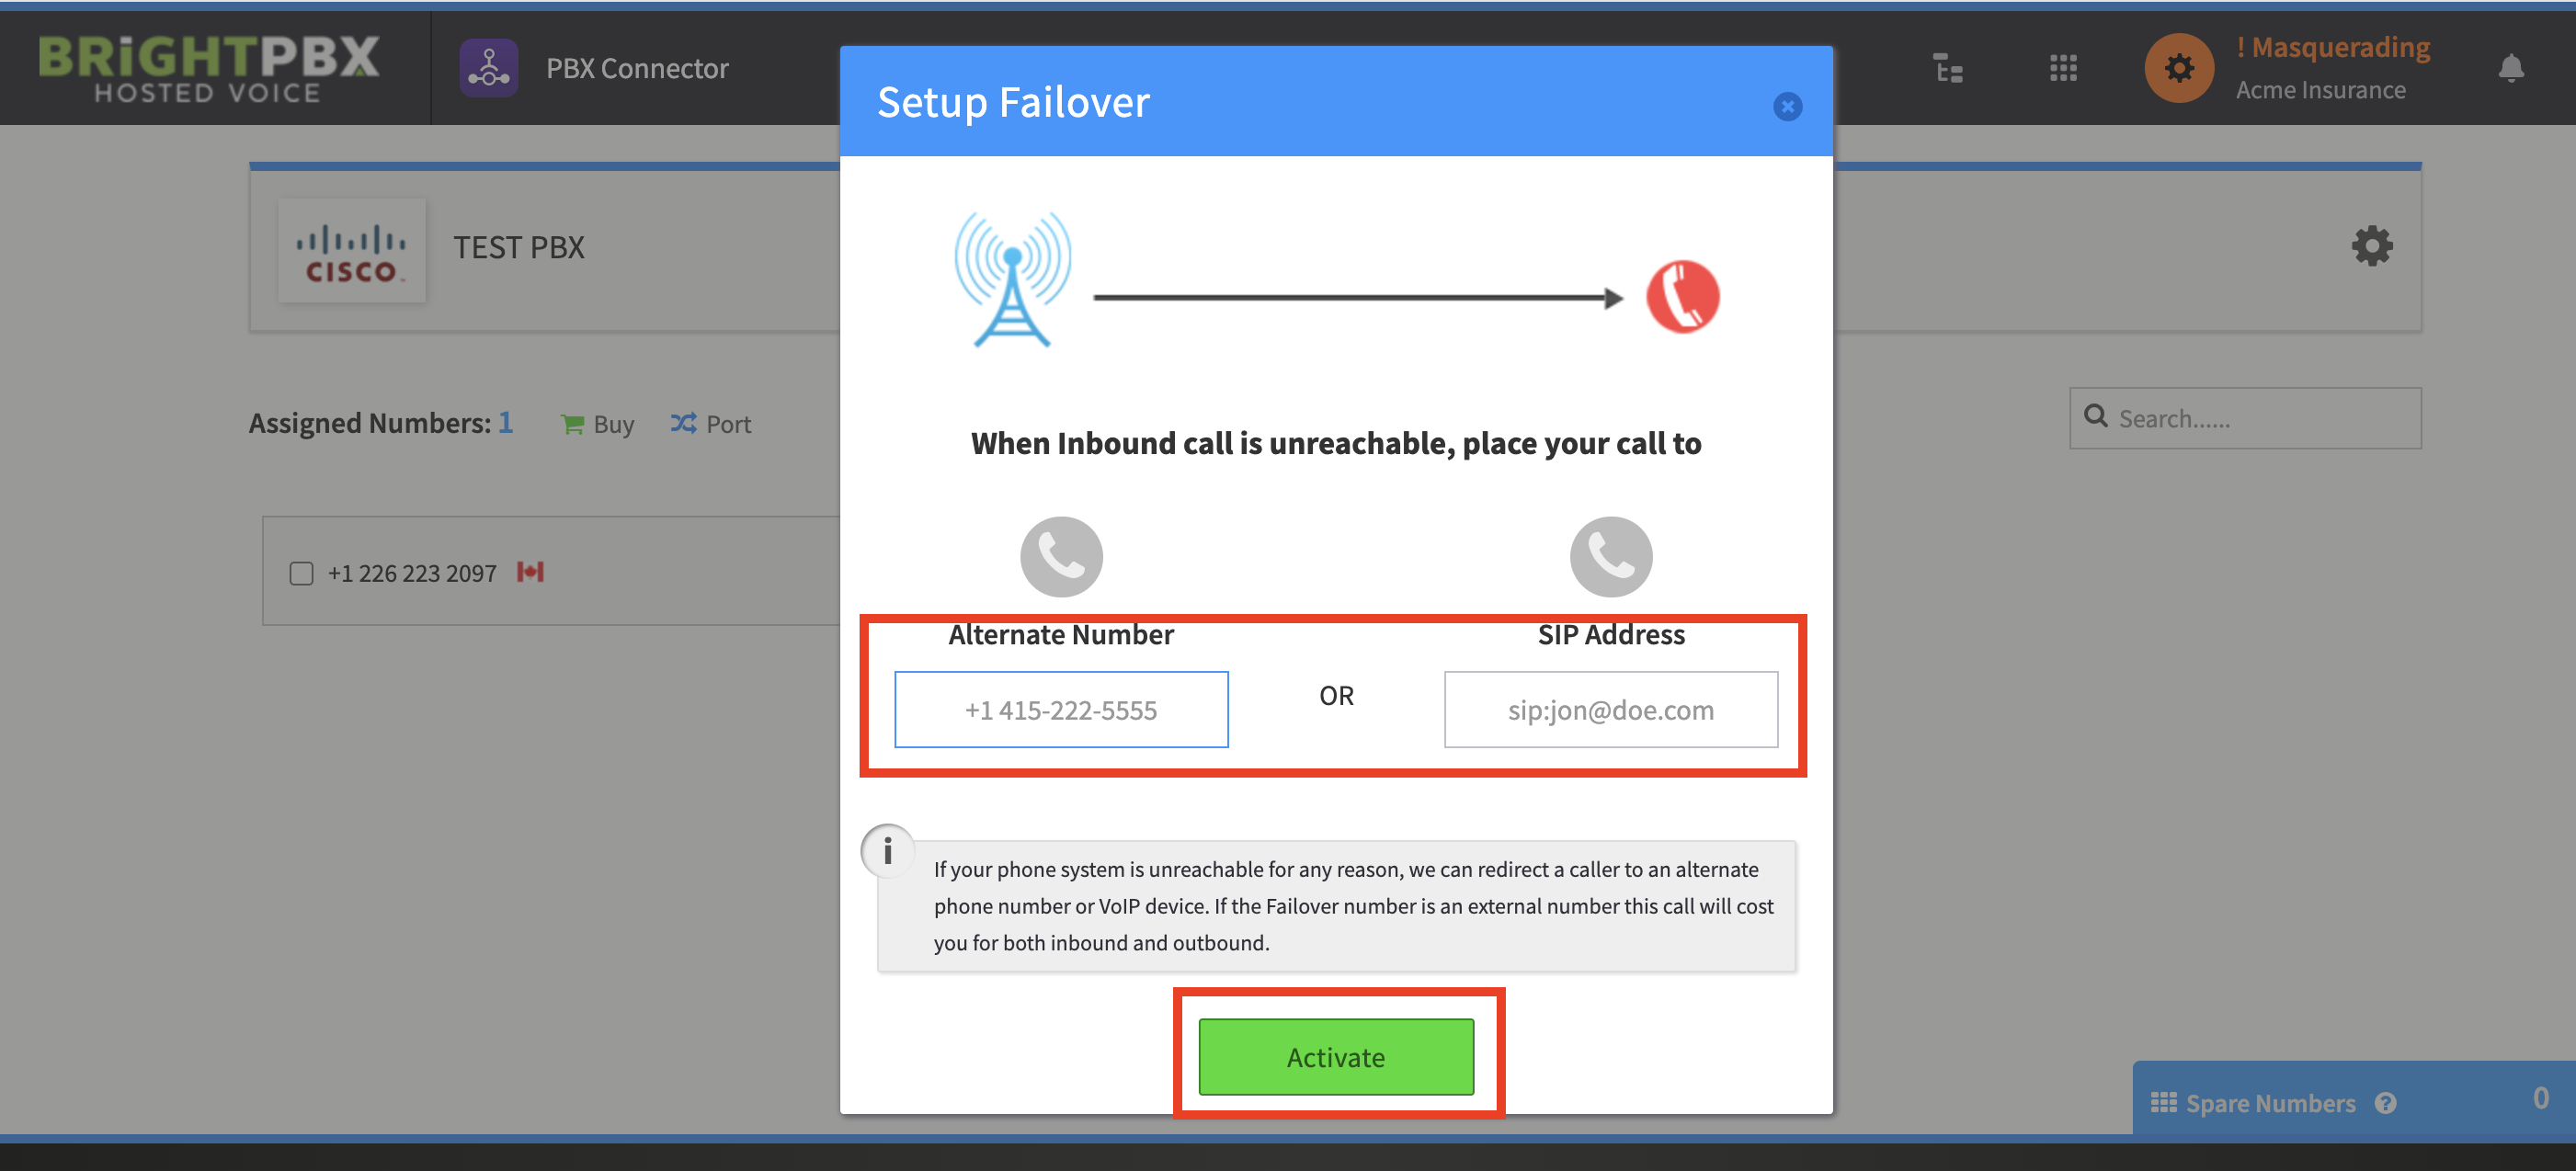
From here, you may route the call to a backup number or SIP endpoint if your PBX is not available