Setting up the mobile app
-
Visit ucphone.ca and download the app (iPhone or Android)
-
Assign a dedicated DID to the specific user who will use the app
-
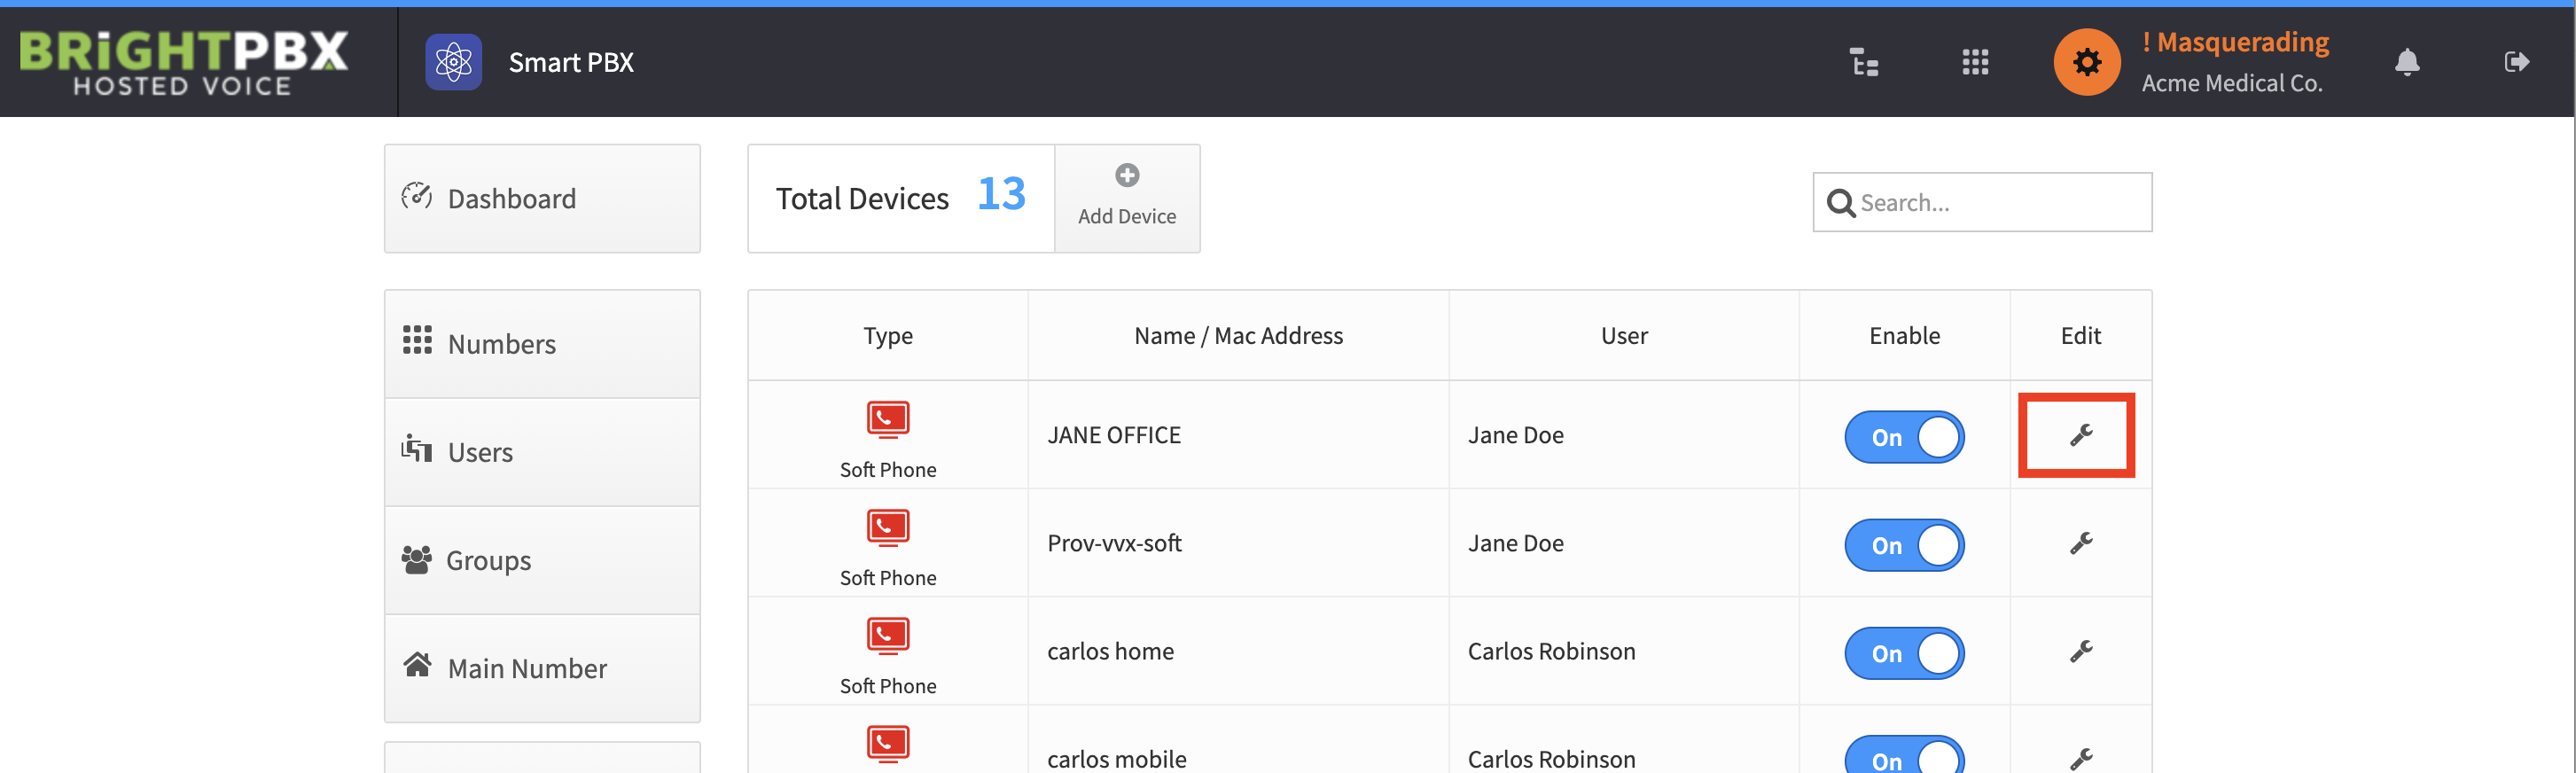
Open Smart PBX > Devices, find your device, and click the wrench icon
-
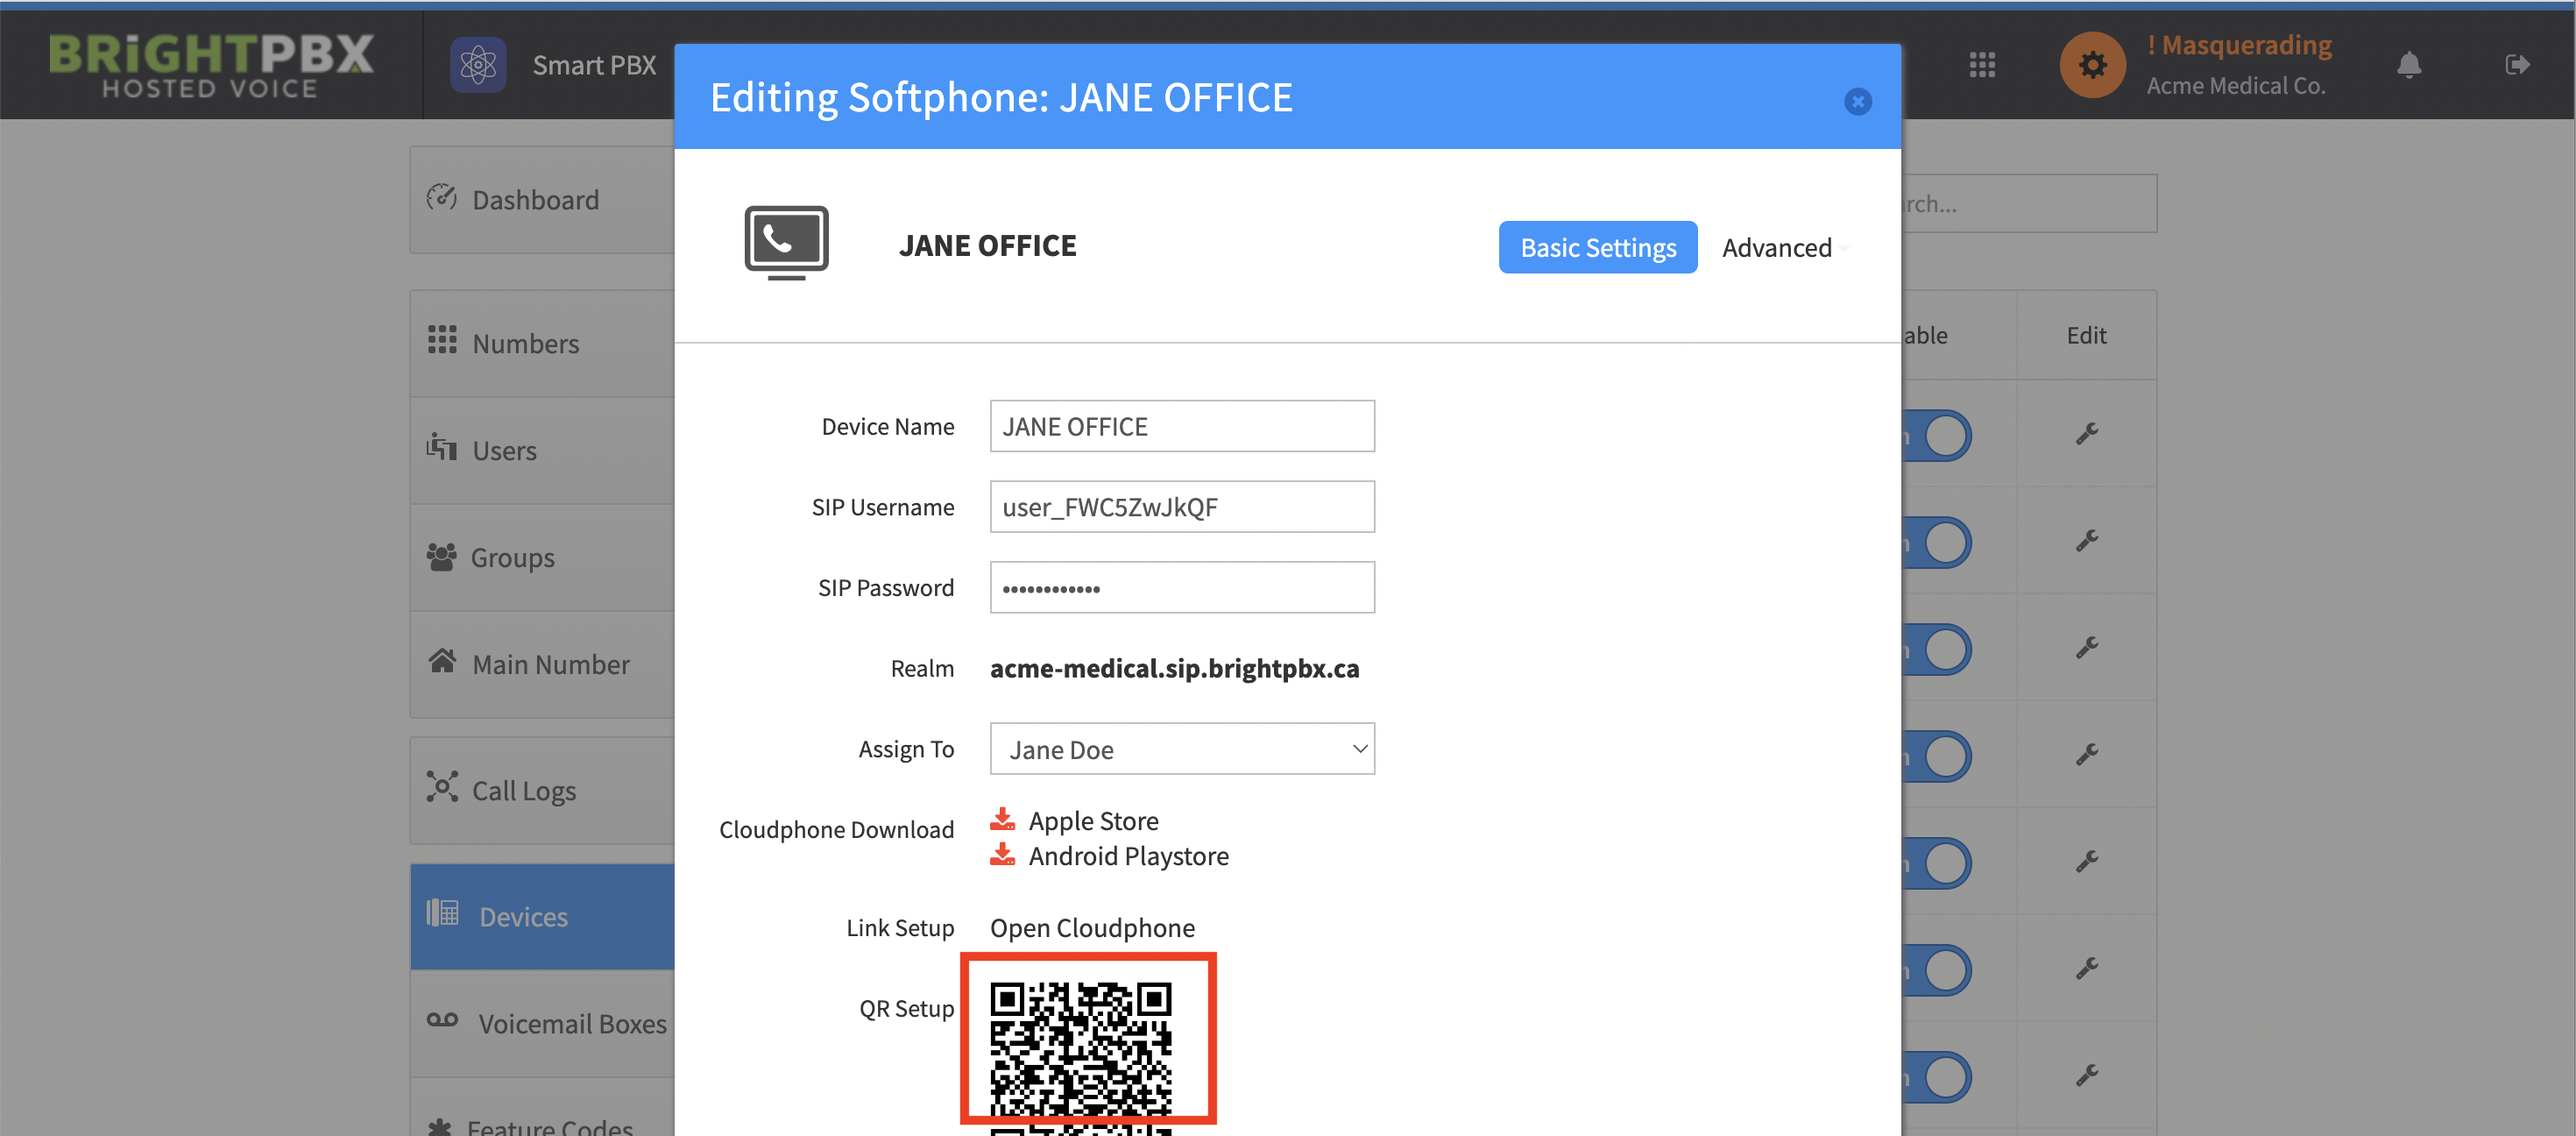
This will reveal a QR code that you can scan with the Cloudphone app
-
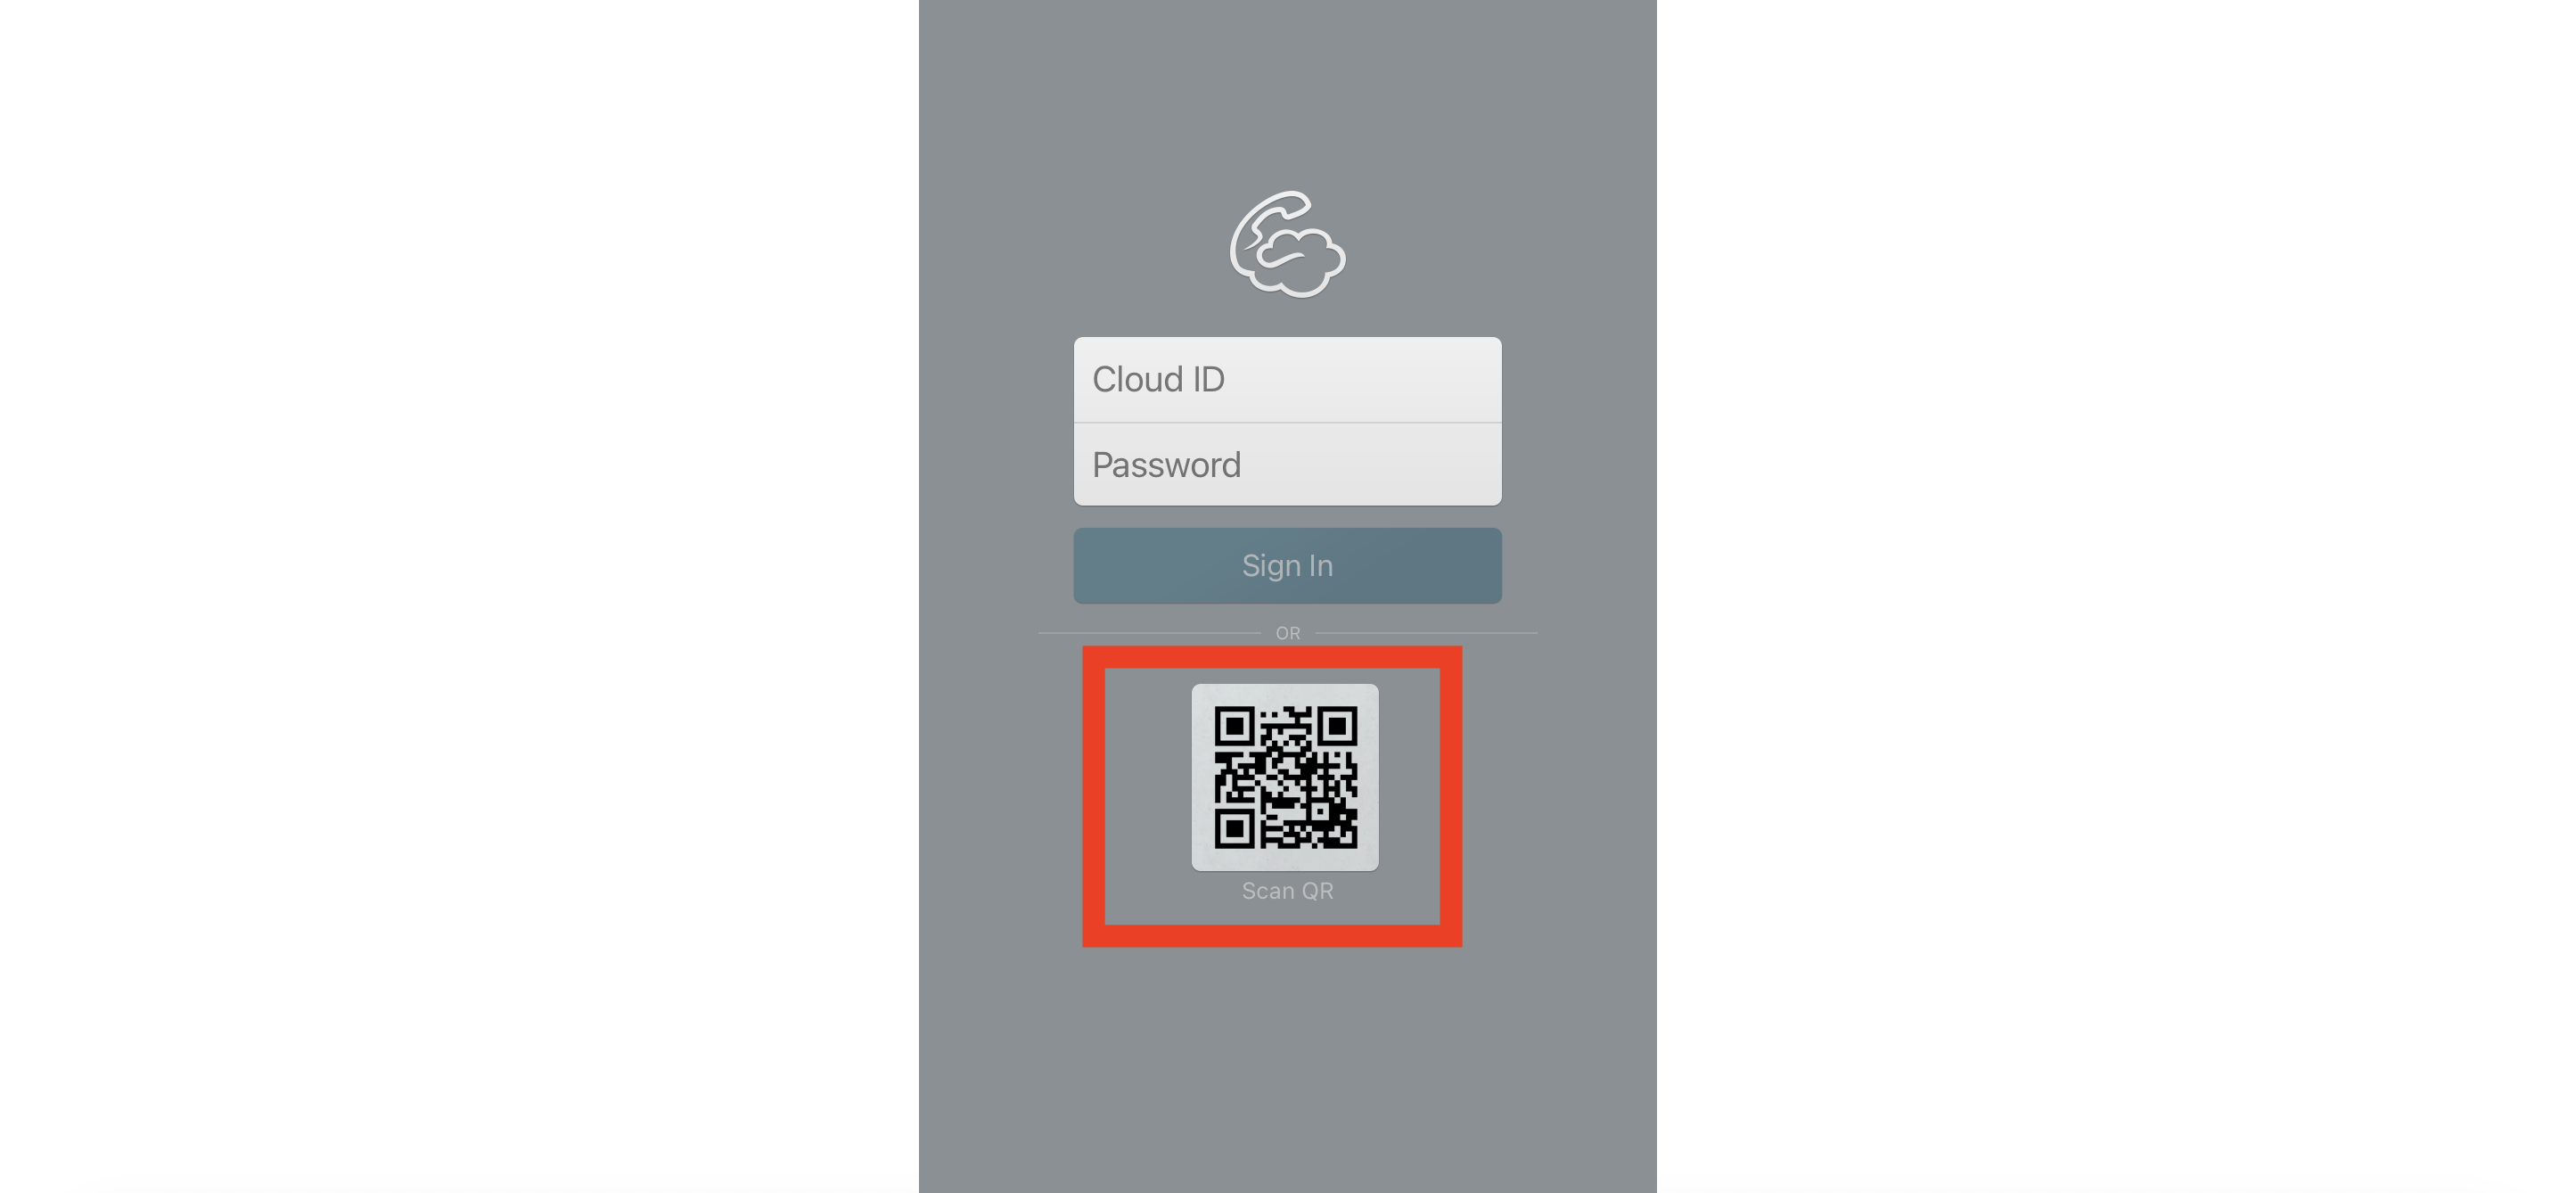
On your mobile device, open the Cloudphone app and tap the QR code icon to open the camera
-
Point the camera at the QR code on your screen from step 4. This will automatically provision your device.
Emailing the QR code to a user
Section titled “Emailing the QR code to a user”To email this QR code and the accompanying instructions to your end-user clients, use the Email QR to User link located underneath the QR code. Clicking it emails instructions to the user that the device is assigned to.
