Setting up a ring group
Ring groups let you ring multiple users as a group — either all at once, one after the other, or in some other custom ordering.
Create the group
Section titled “Create the group”-
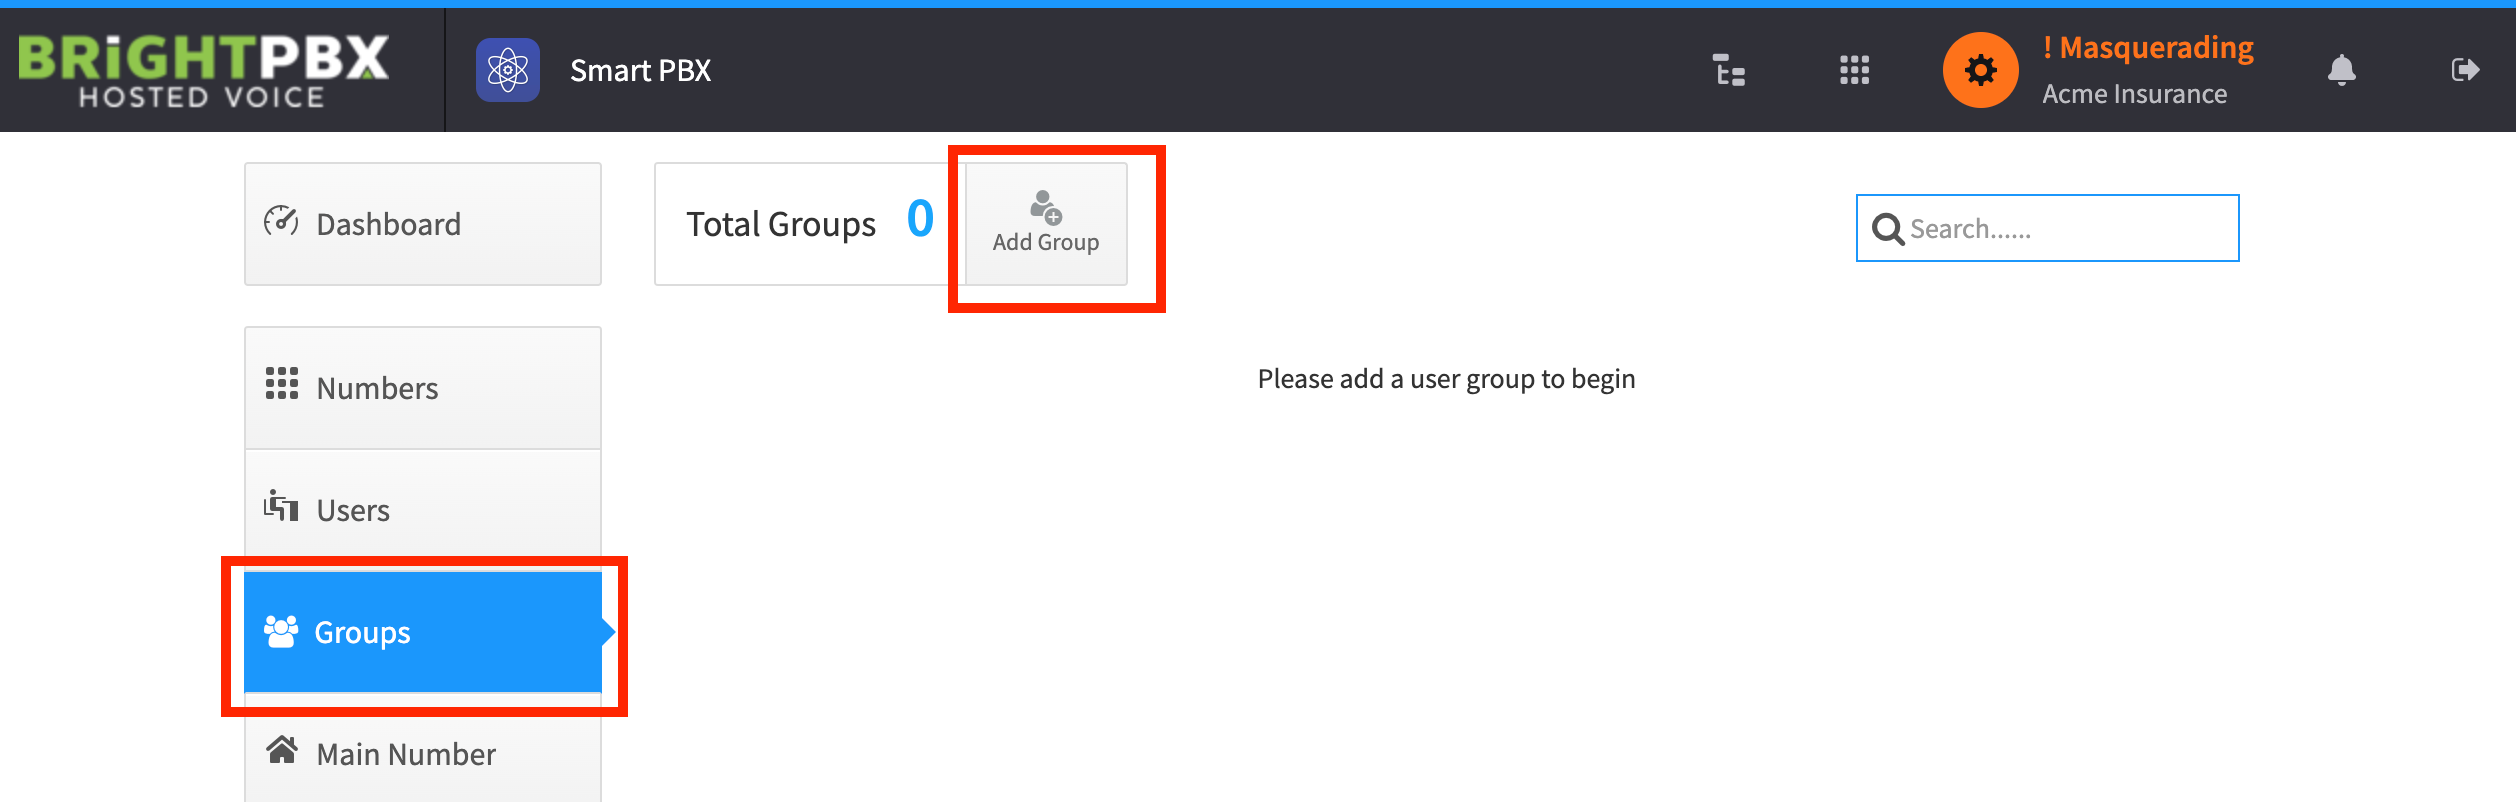
Open Smart PBX and choose Groups > Add Group
-
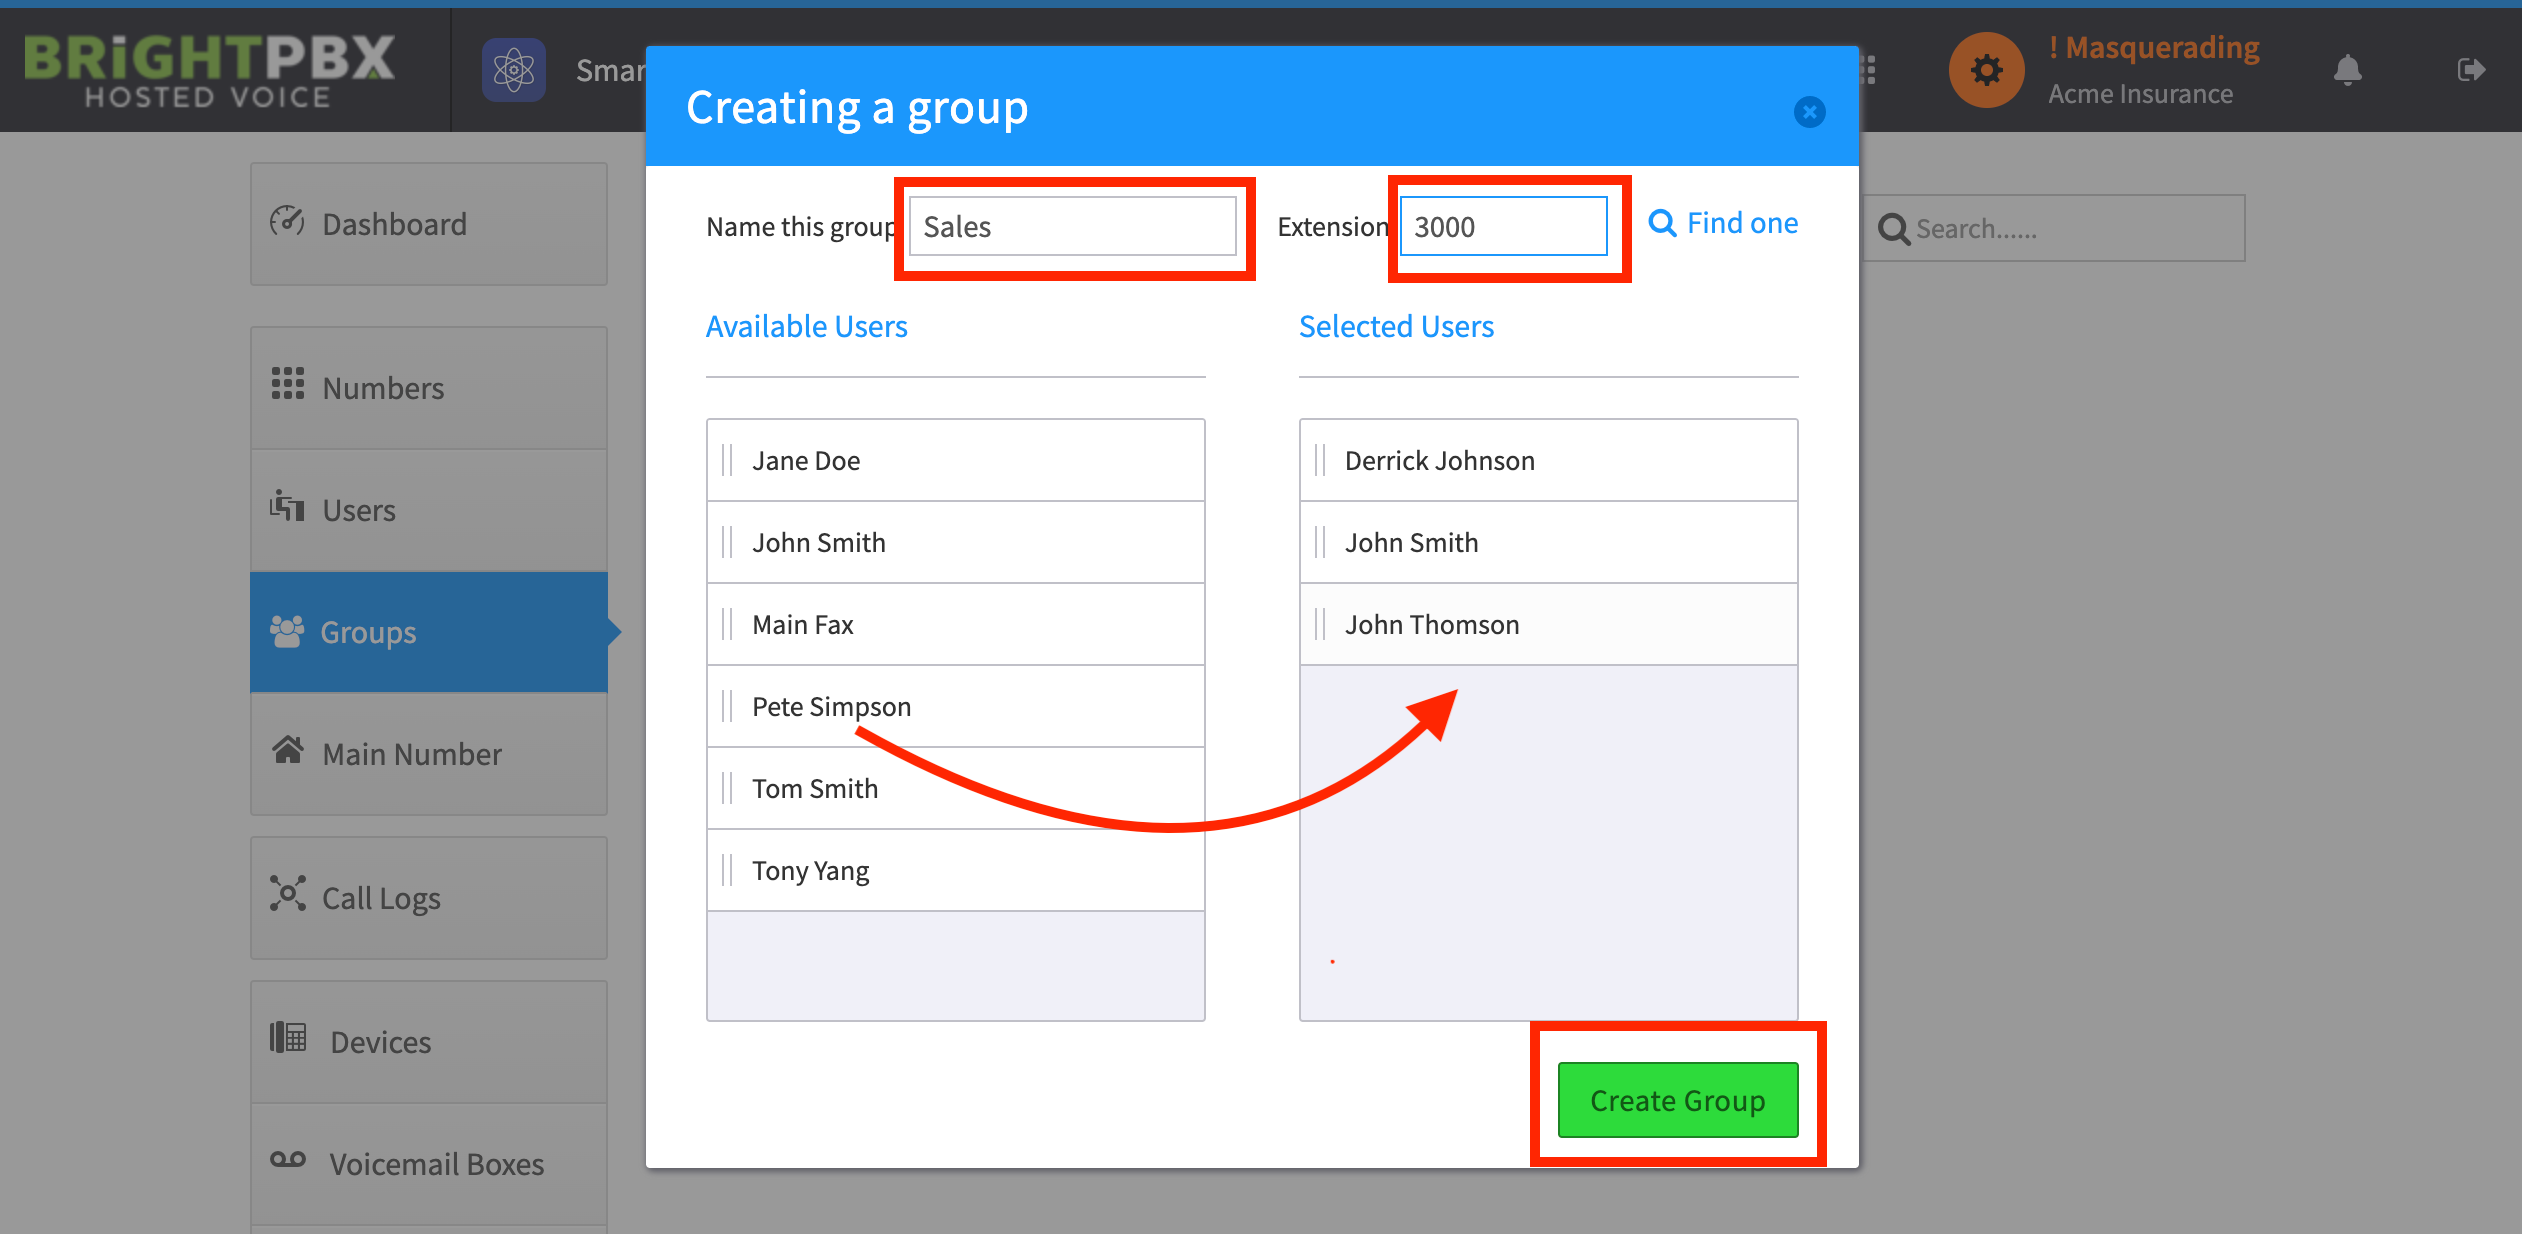
Enter a group name (e.g. “Sales”), an extension (optional), and drag over the users you want to include. When you are done, click Create Group
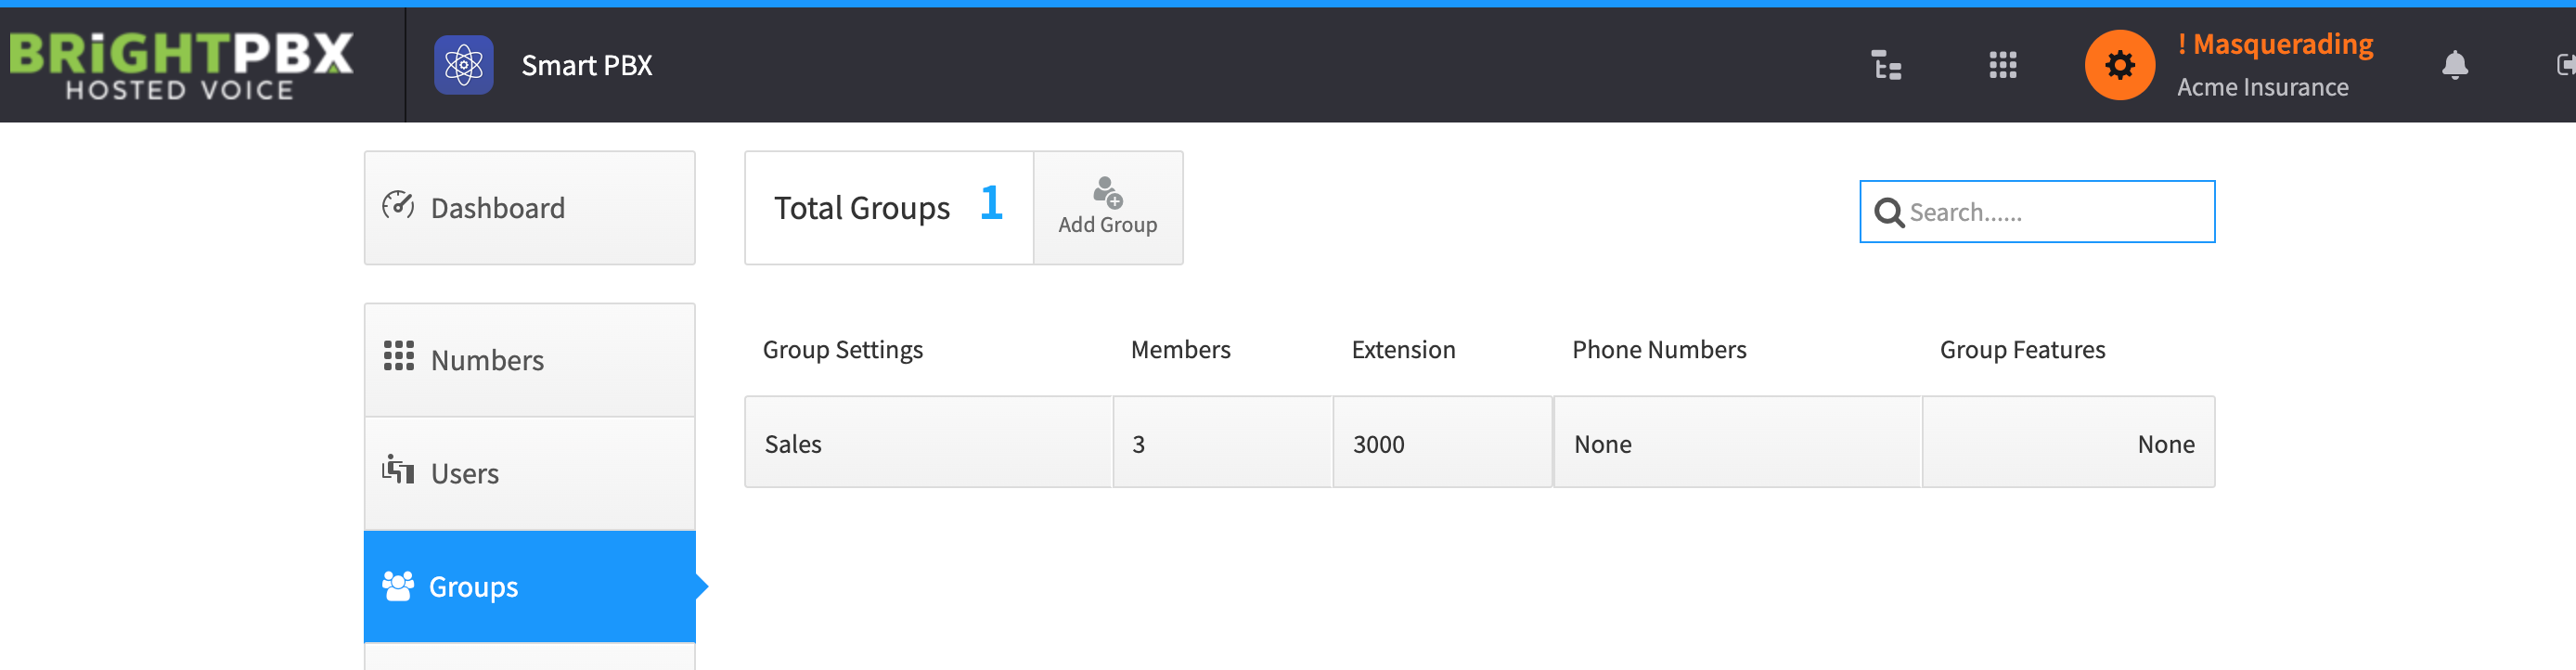
Your group is now created.
Configure the ring pattern
Section titled “Configure the ring pattern”This controls who rings when, and for how long.
-
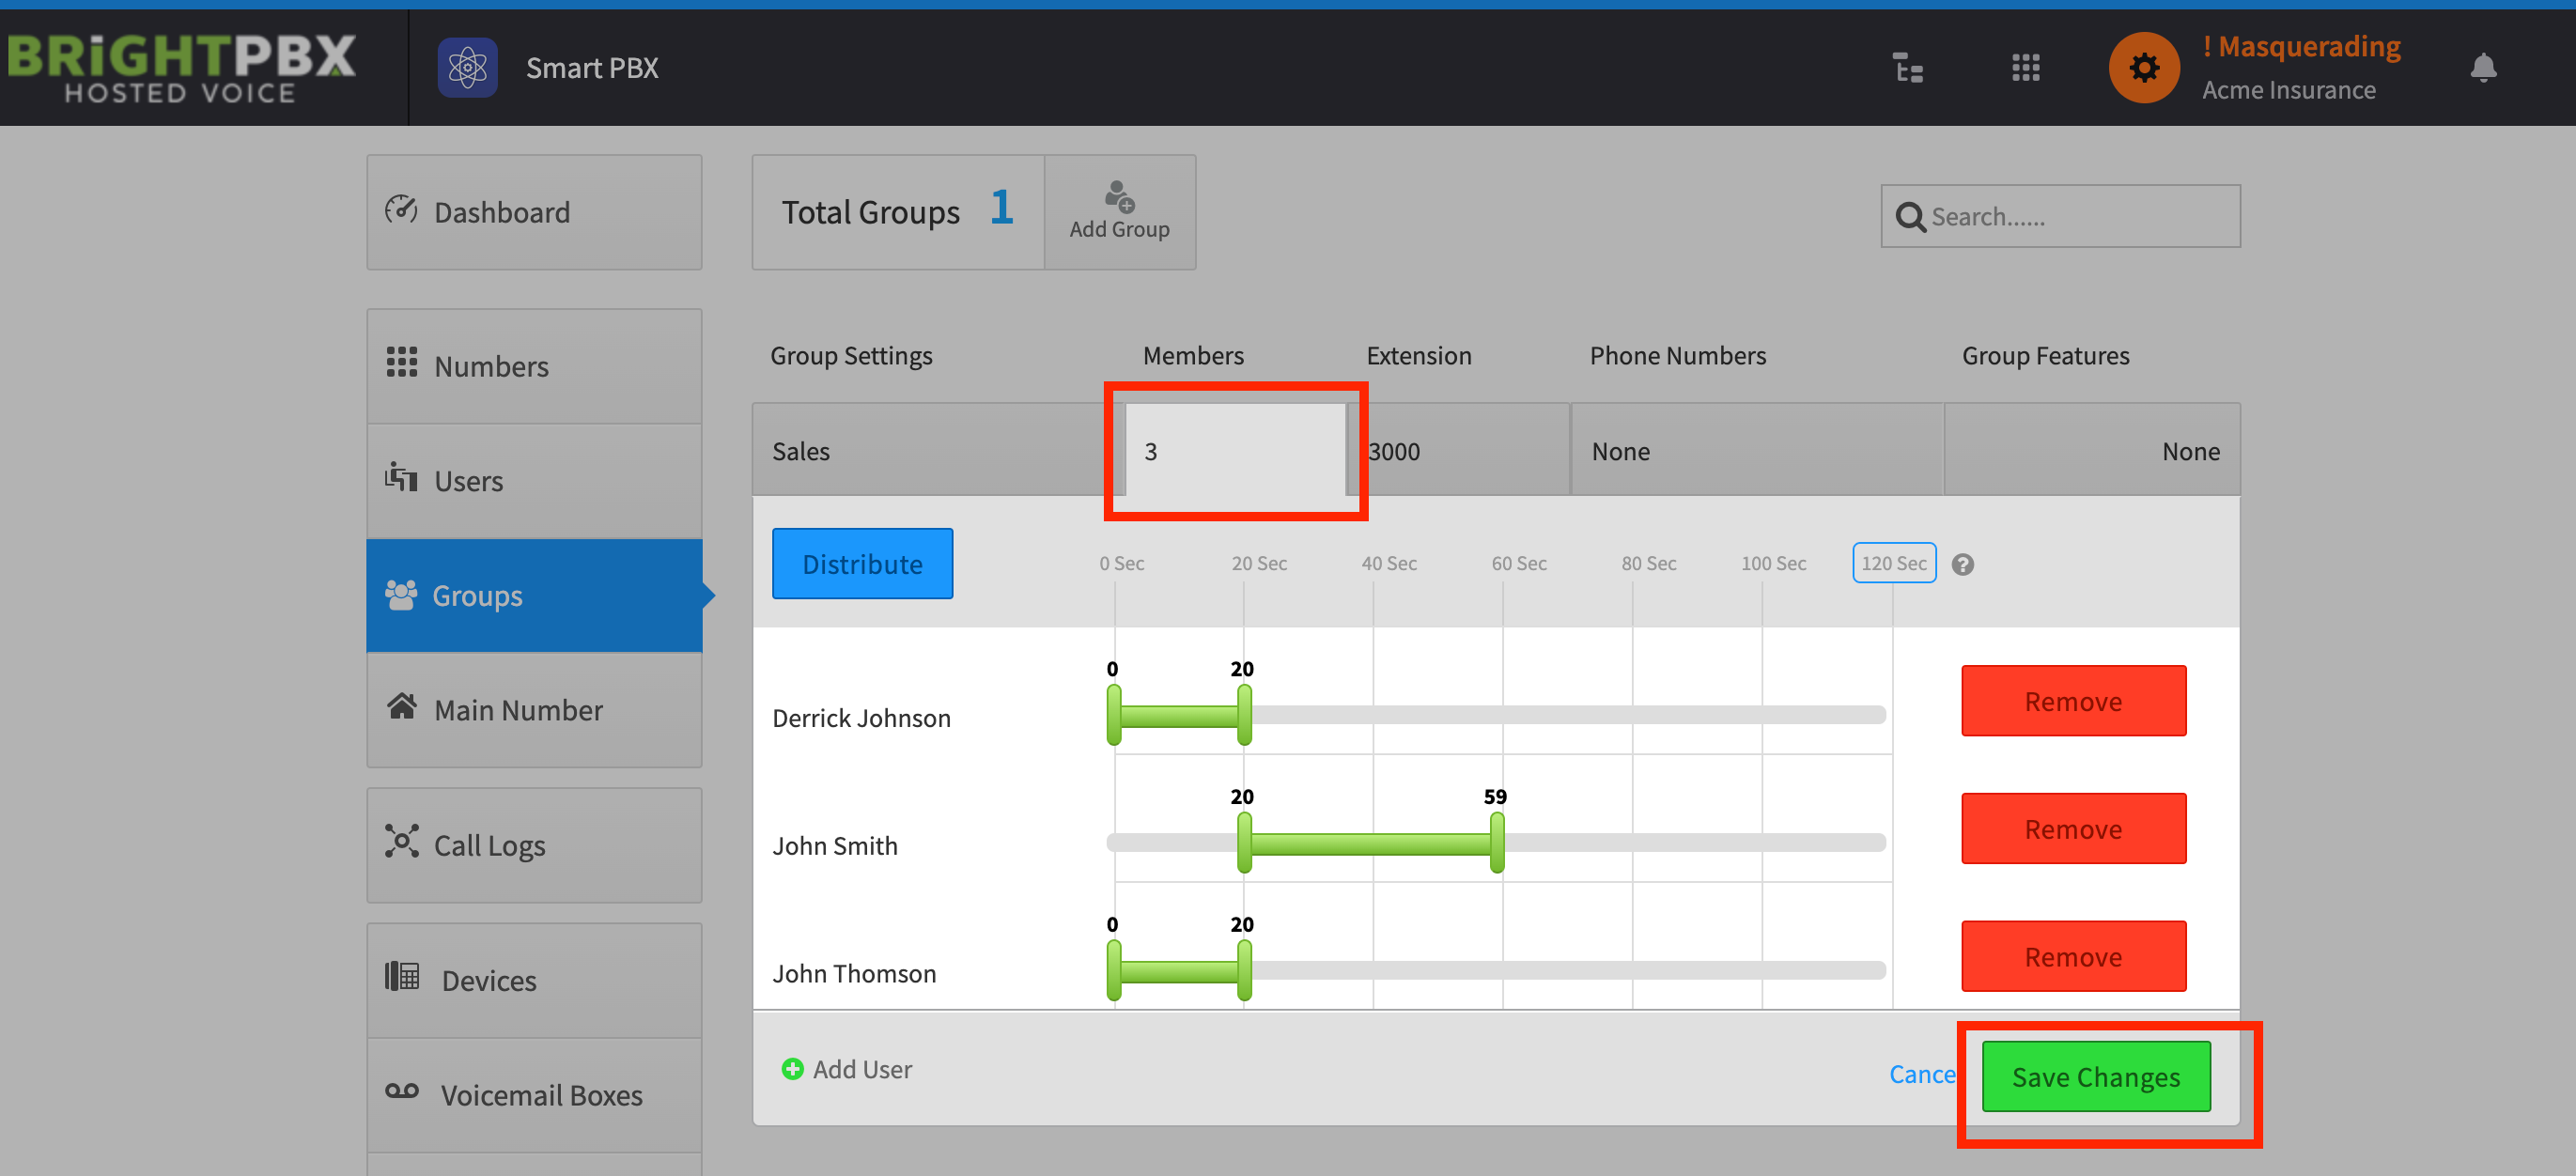
Still within the group page, click the Members column, and drag the sliders according to your preferences. When you are done, click Save Changes.
Add a fallback
Section titled “Add a fallback”To configure what happens if no one answers the ring group:
-
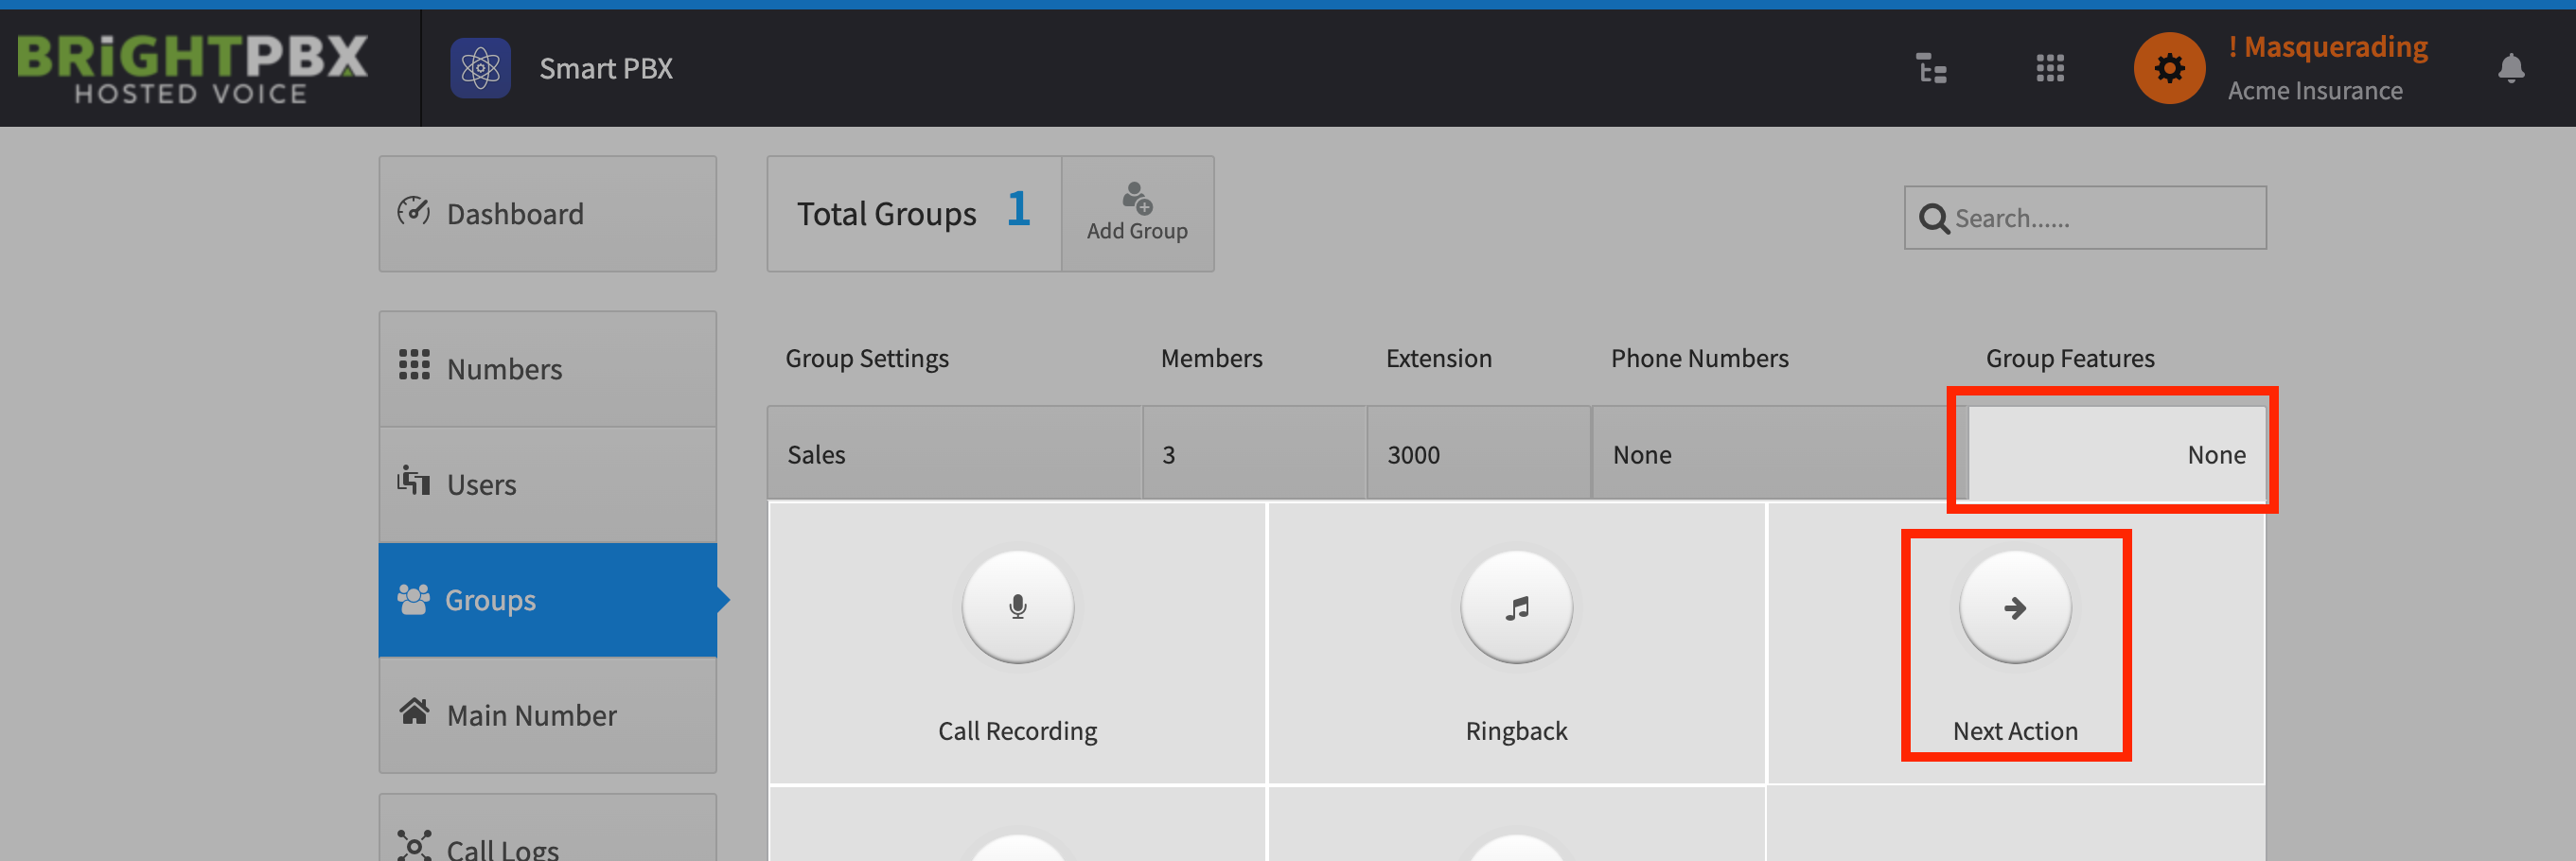
Click the Group Features column, and choose Next Action
-
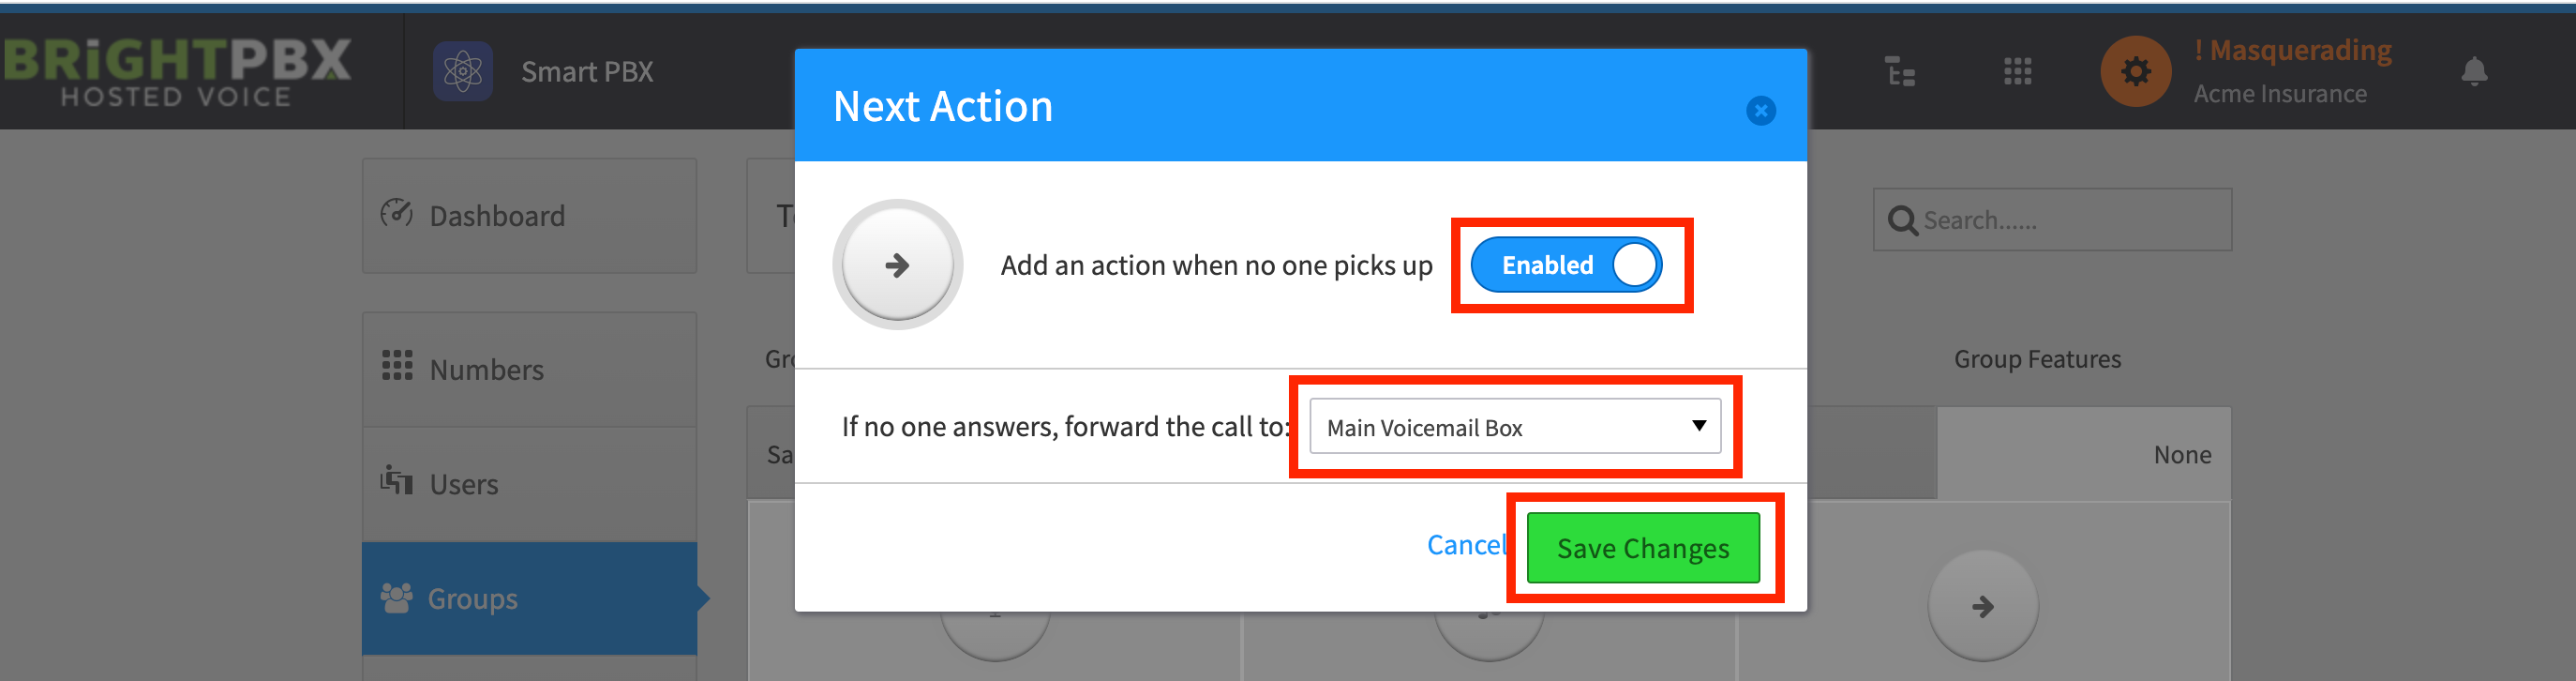
Check Enabled, choose your destination, and click Save Changes
-
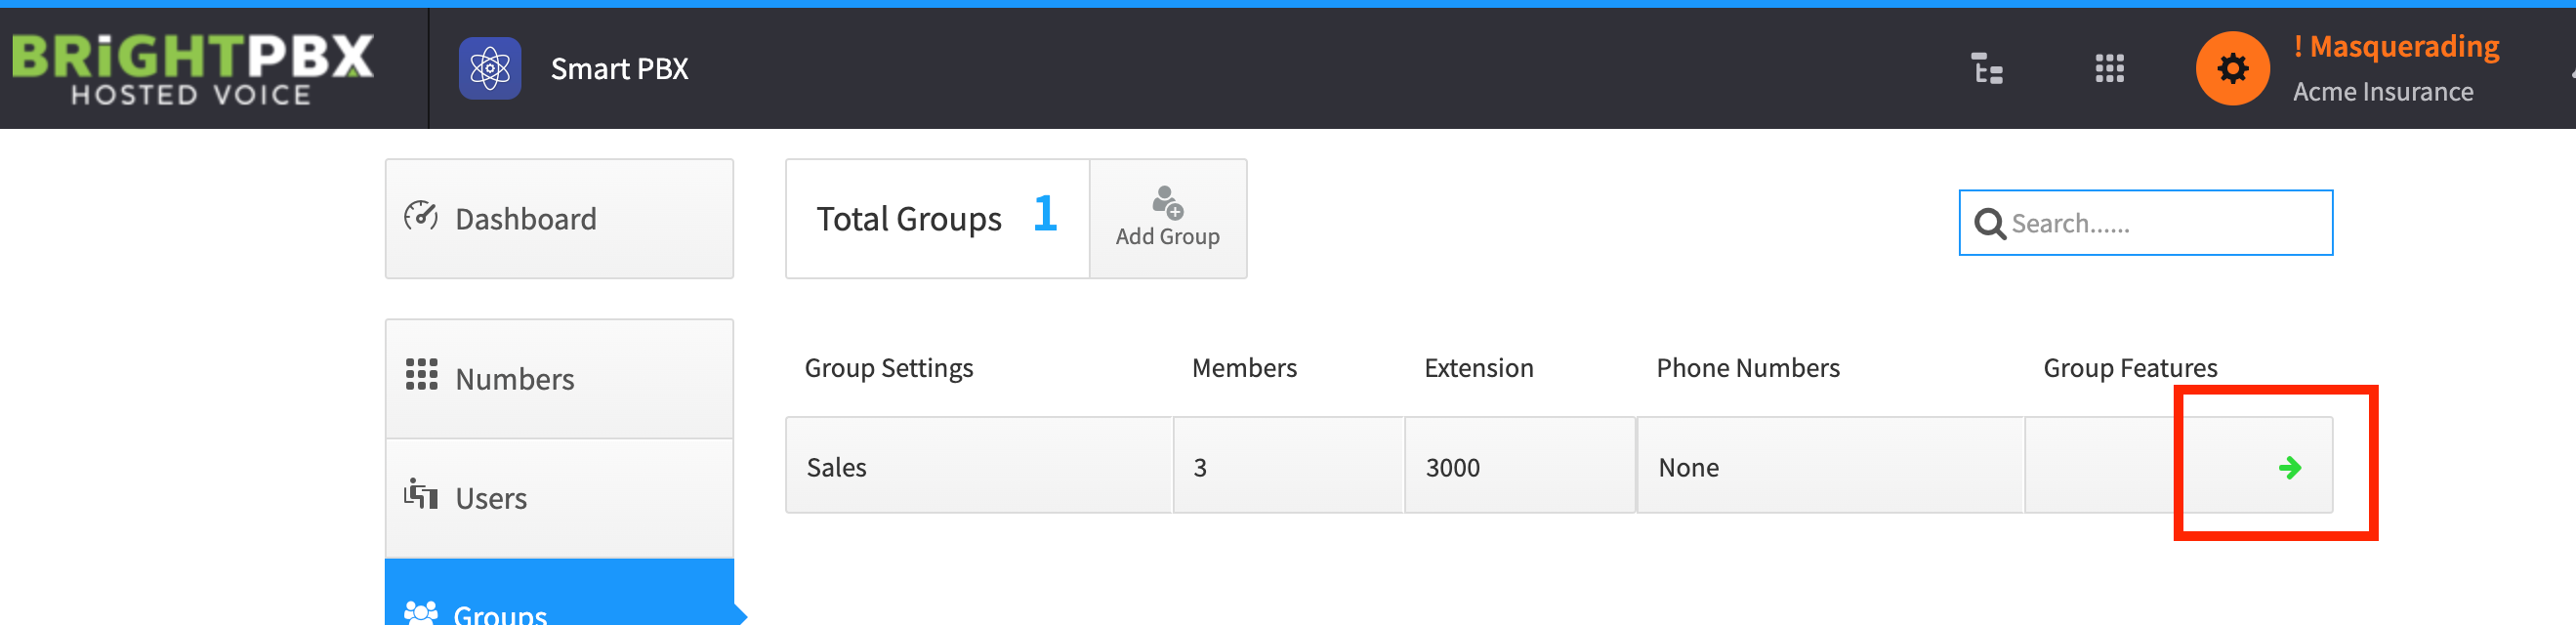
The green arrow indicates that you have successfully set up the forward